I confirm that the work on this website is all my own and does not include any work completed by anyone other then myself, except where clearly stated otherwise, and that sources have been appropriately referenced.
Planning, Production and Practical skills
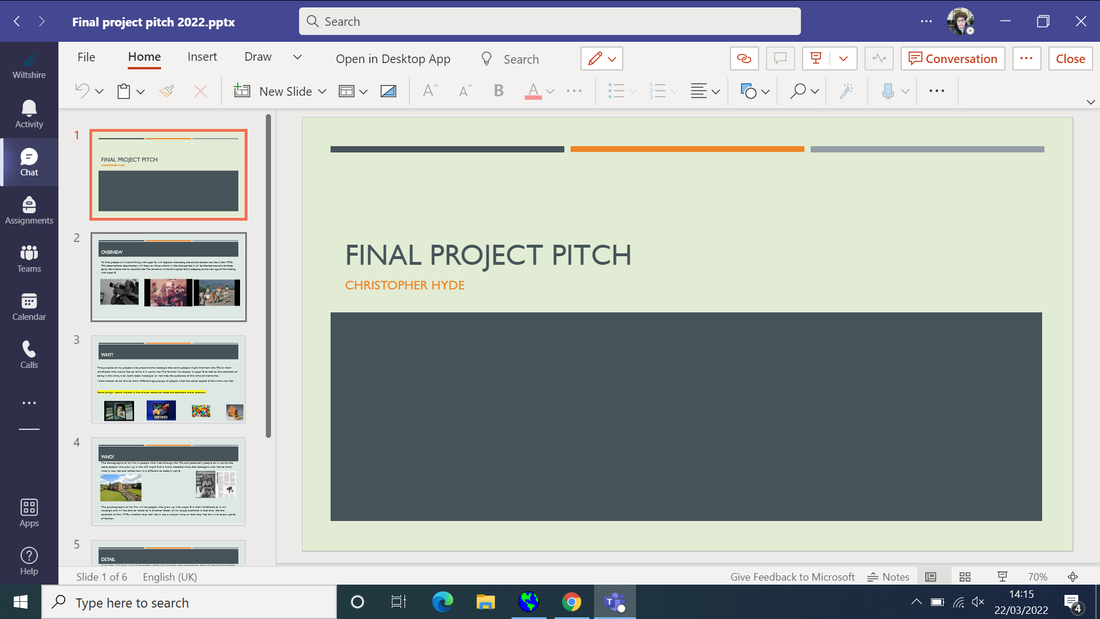
Here is my PowerPoint where I pitched my final project idea:
(Yellow highlighted text is TBC)
(Yellow highlighted text is TBC)
Here is myself pitching the idea to the class:
In my pitch, I described what was going on in my film in slides explaining key points of the plot and how it will be done. I pitched why I was doing this with who will it be aimed at and the USP of my project.
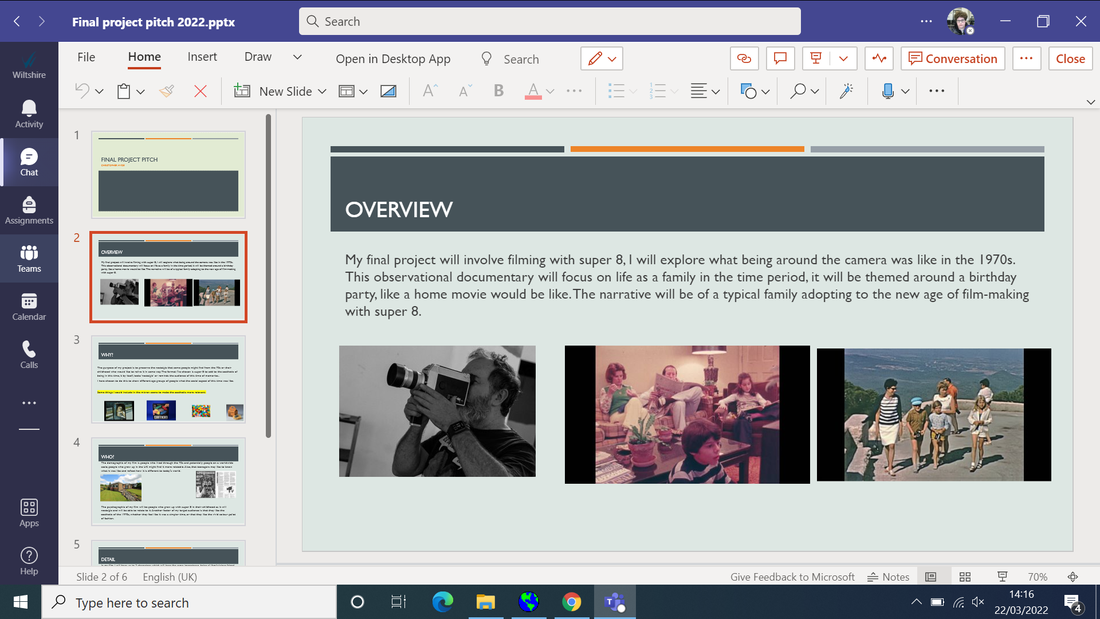
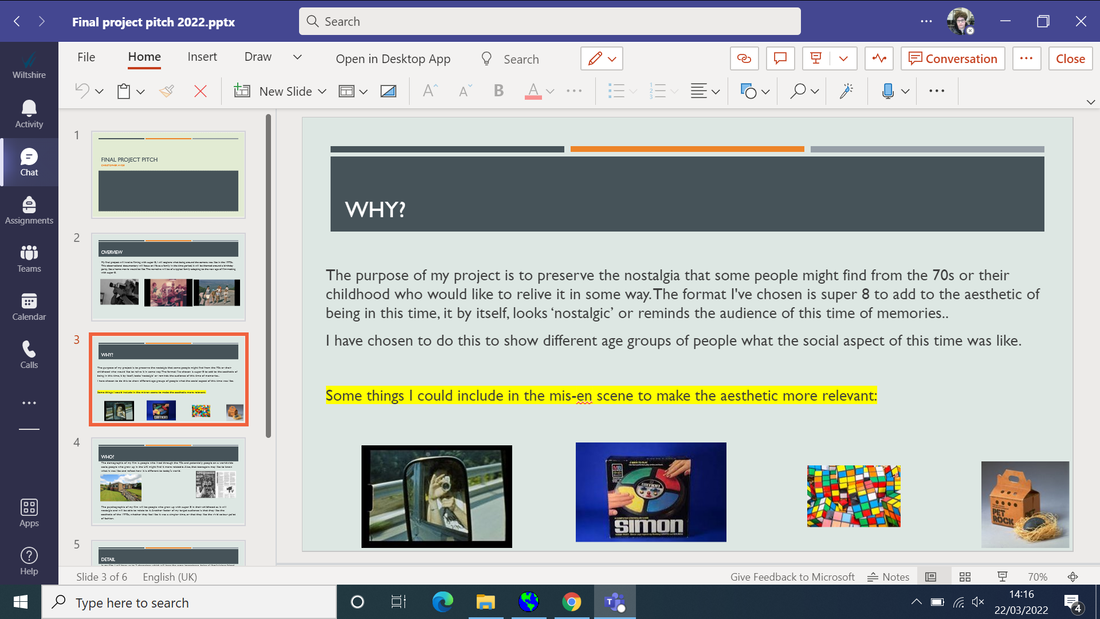
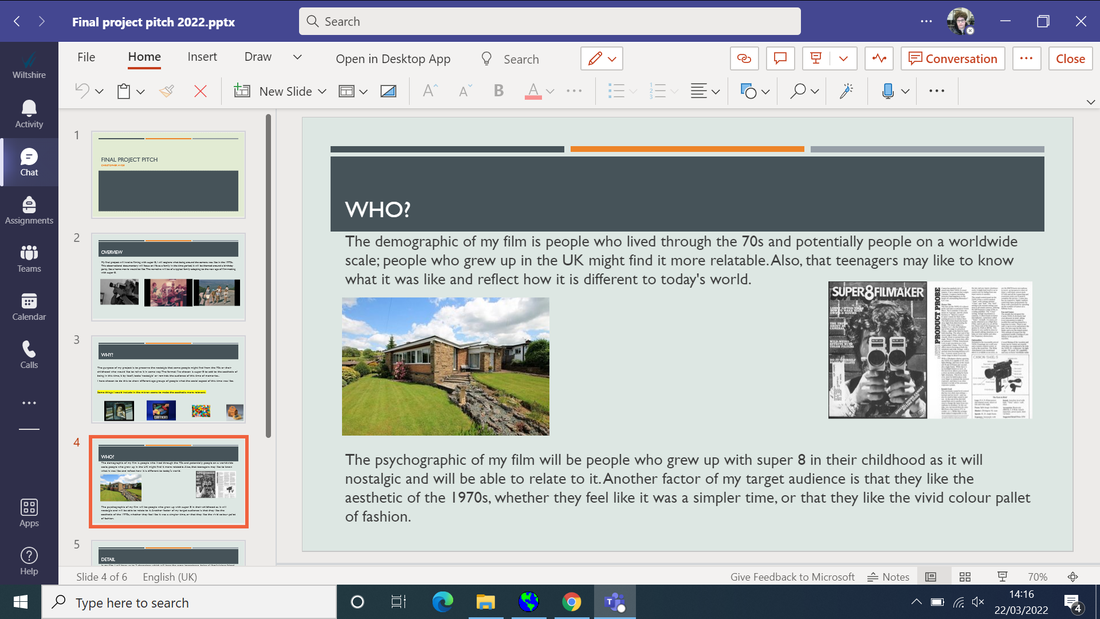
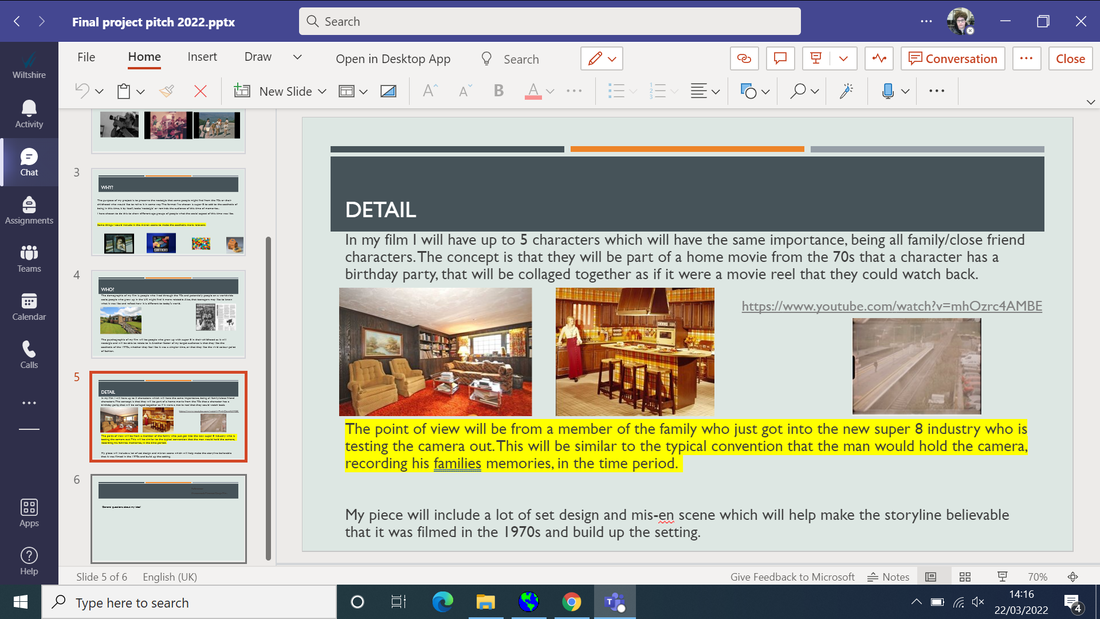
In the opening I started with an overview of my project with pin points with what will happen in it, I did not go into too much detail until the end where I explained any small reasoning for why I chose to film with super 8.
Beforehand, I practiced what things I would say on the slides and then what would be in my notes, having more information on the notes so the presentation looks clean and simple. I spoke clearly which impacted well, being understandable to the audience/directors (in a real pitch).
I think I communicated my idea well because I had some questions on how I would collect primary and secondary research which I said speaking to people personally about their vision of the 70s. I explained what kind of props I would have to find and set up for the mis-en scene, things like board games and children toys.
The pitching experience has given me some extra ideas on what to research, like games the character could get for the birthday party for presents.
Some things I could improve my pitch was being more accurate with props and what decade they came from, where I put an image of a rubix cube with images about mis-en scene and they were popular in the 80s not 70s. Through my pitch, I have a better understanding of what will be going on and what will be included in my film.
Treatment:
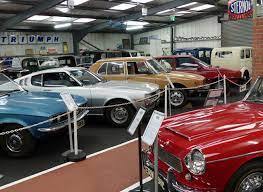
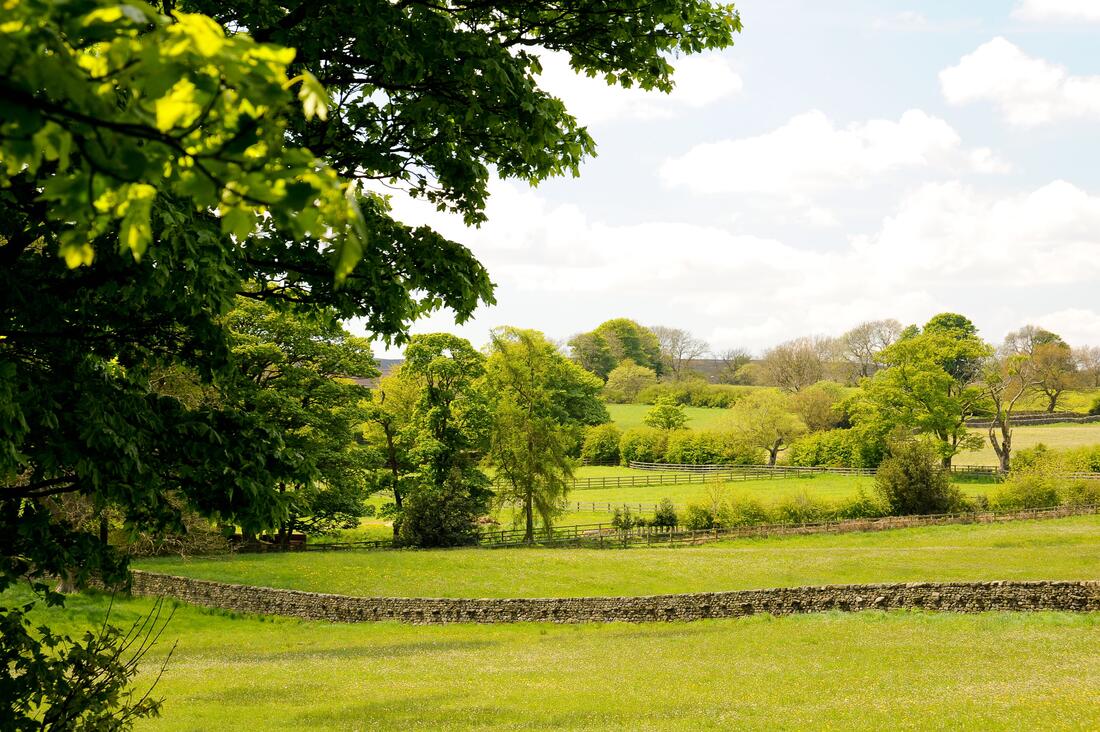
Some locations I plan on filming at is my house where the majority of it will be set, but I will use other locations such as parks to give an outdoor aspect to the film. I found somewhere called 'Atwell and Wilson Motor Museum' in Calne, where it showcases some classic cars, where I could use some cars from the 1970s to create a sense of time. This will add depth to my film to make it more believable that it was filmed in the 1970s.
The museum has multiple vehicles from different ages, where I could film some cars that would have been popular or relevant in the 1970s (pre-production idea)
Didn't use the motor museum to film on super 8 as a final idea as budgeting issues with the entry fee for crew/characters. However could come back to the idea to see if can add more aesthetic.
Equipment booking form for microphone and Location risk assessment and Location reconnaissance sheet:
I had to book a microphone and boom pole to record foley for my project, I had to state how long I was going to hire it for and if there were going to be any hazards regarding locations filming in and if it was going to affect or damage the equipment, but all my scenes were safe so I left it as N/A. Also with basic contact details incase something needs to be checked up and a schedule for the day of production.
Talent Release Form:
For my production, the main character is under 18, meaning I had to get parental/guardian to consent that he is allowed to be featured on the film and editing and to be involved in any posters or recordings. Which this form gives consent to the film makers.
Here is my outline script:
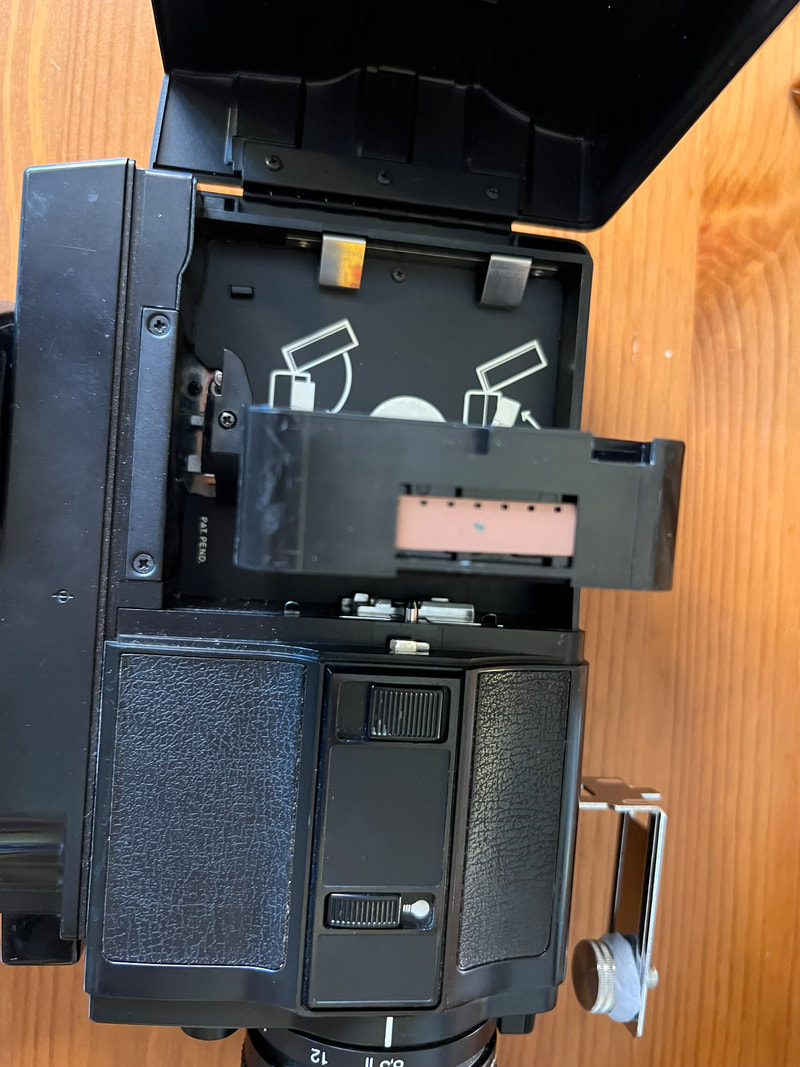
Before filming, I had to make sure everything was going to go as plan in terms of the camera, to ensure this, I used a cotton bud to clean any dust out of the filming gate inside the camera and wiped the lens to make sure the picture was clear (the filming quality came out better than expected), and to make sure the film would advance properly according to the frame rate, I used a sharpie to put a dot on a film cell and film with the camera for 1 second and see if its there or not, if it wasn't there that meant that it was working.
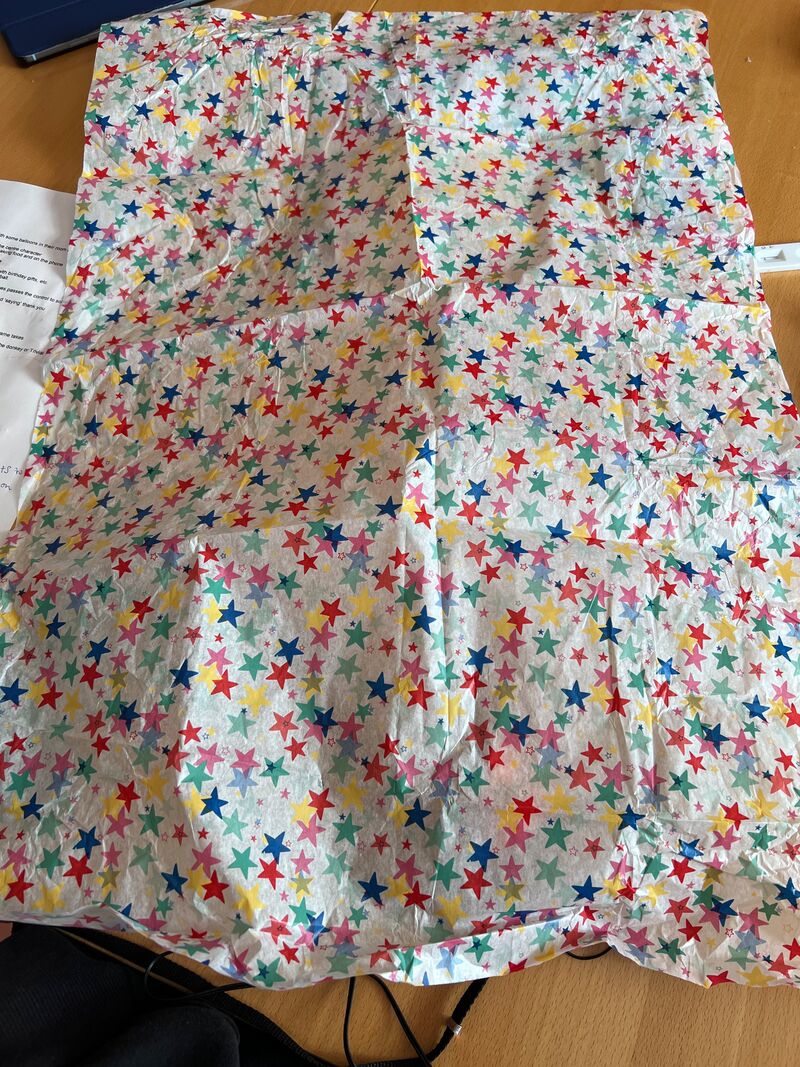
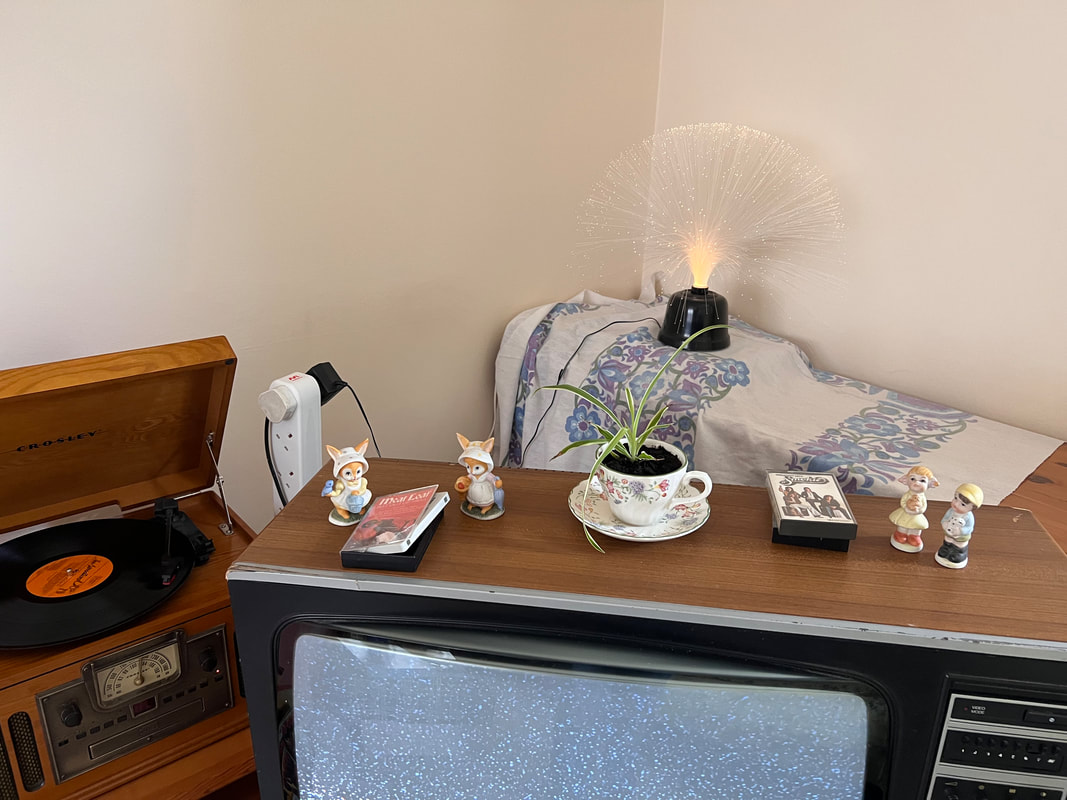
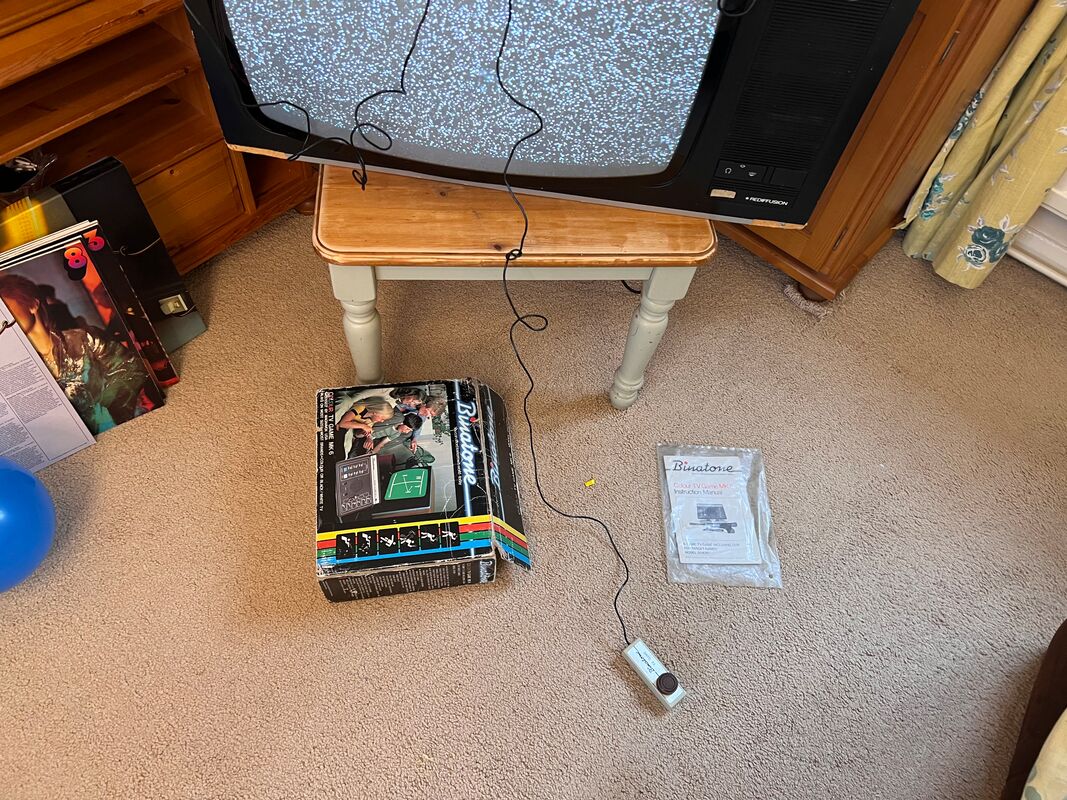
Some props I've managed to get so far:
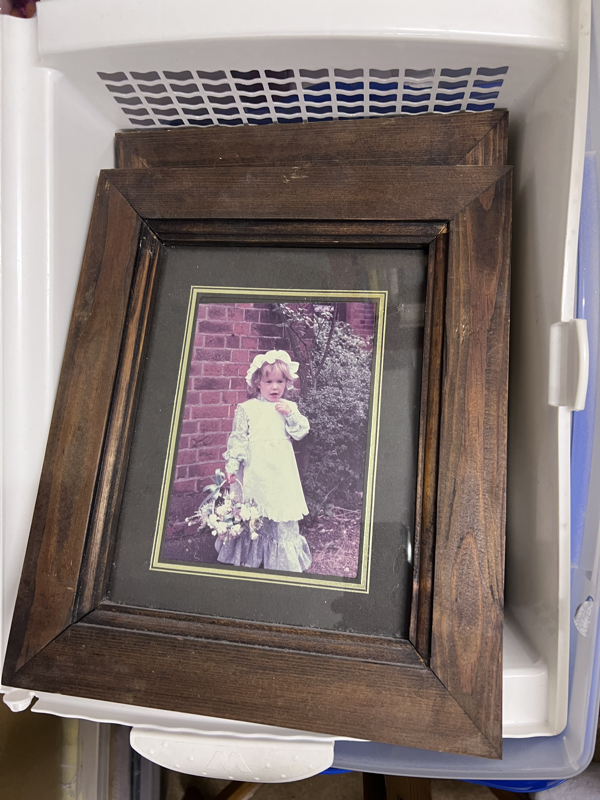
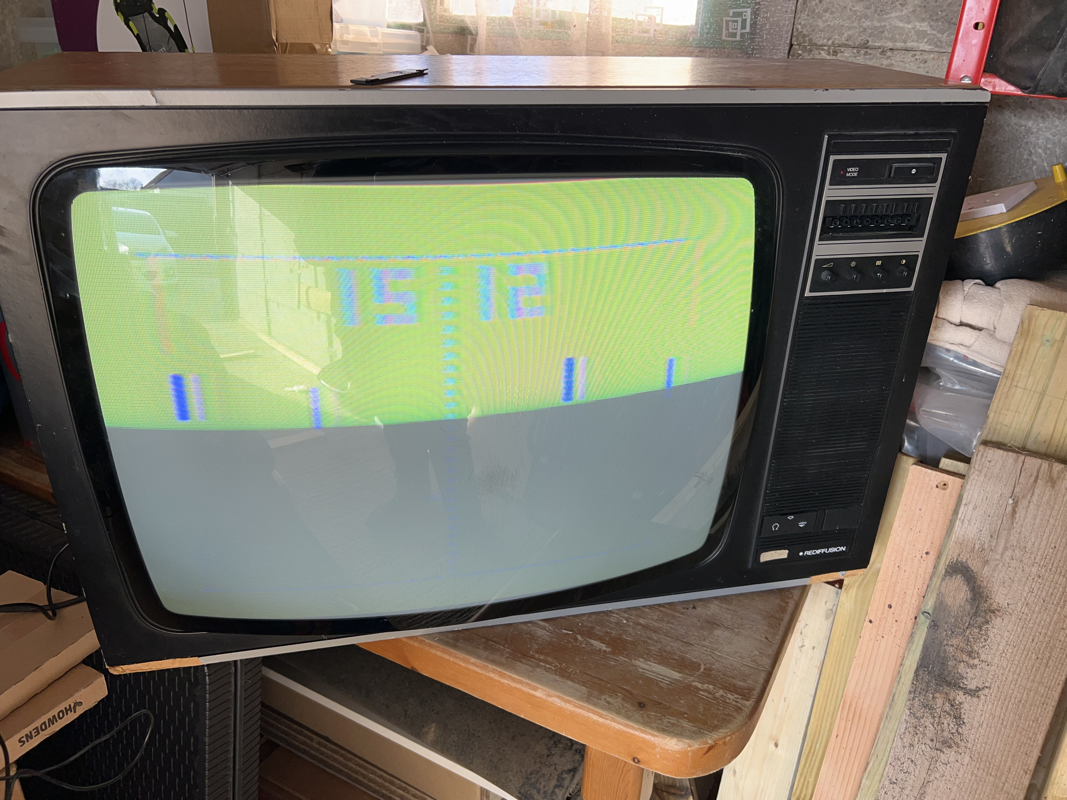
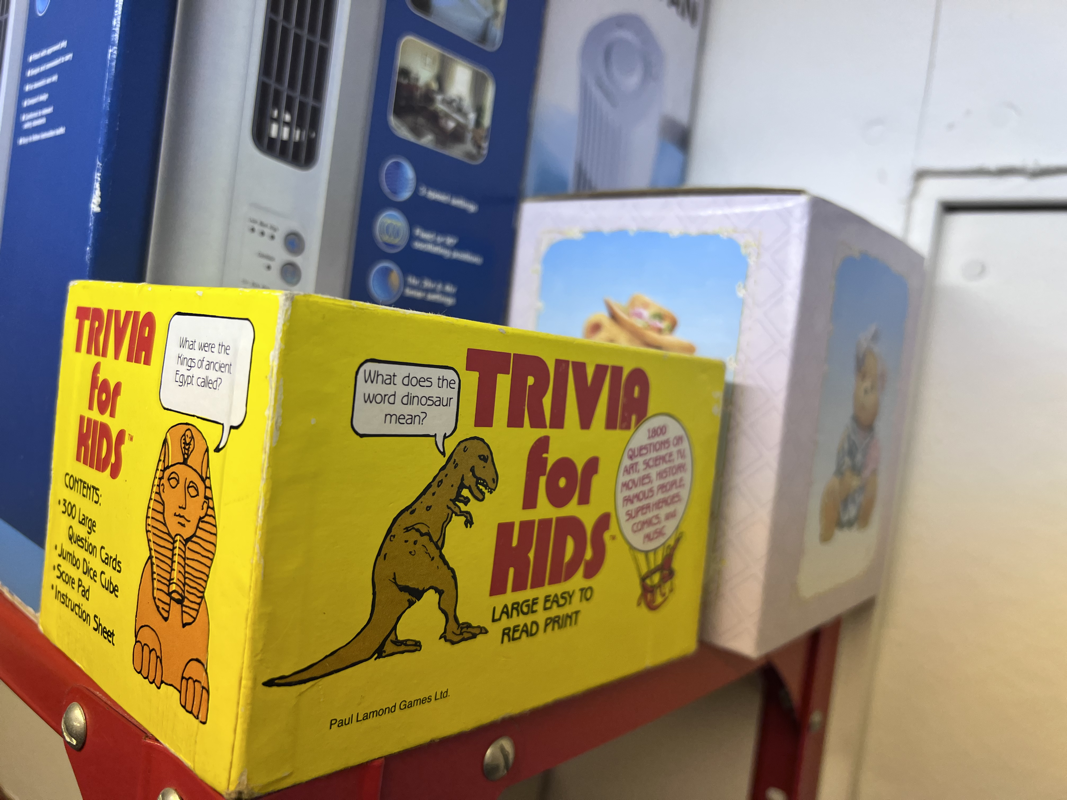

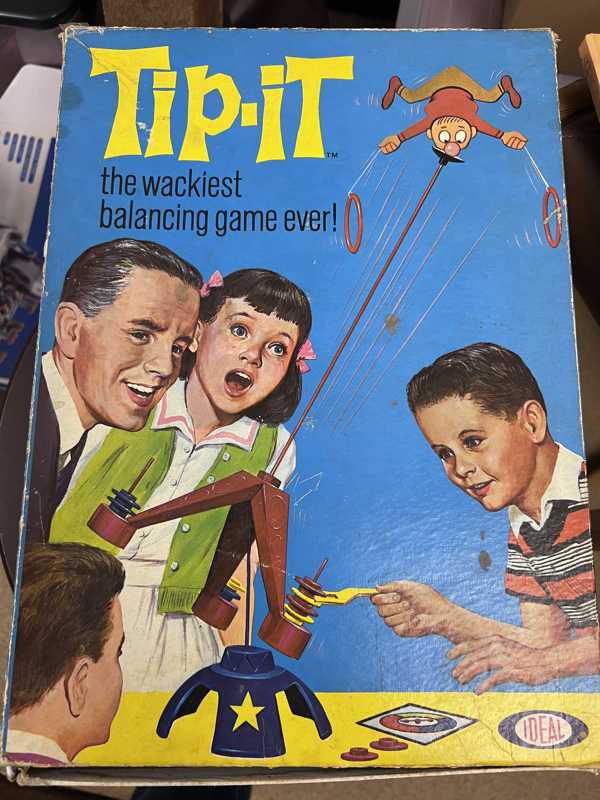
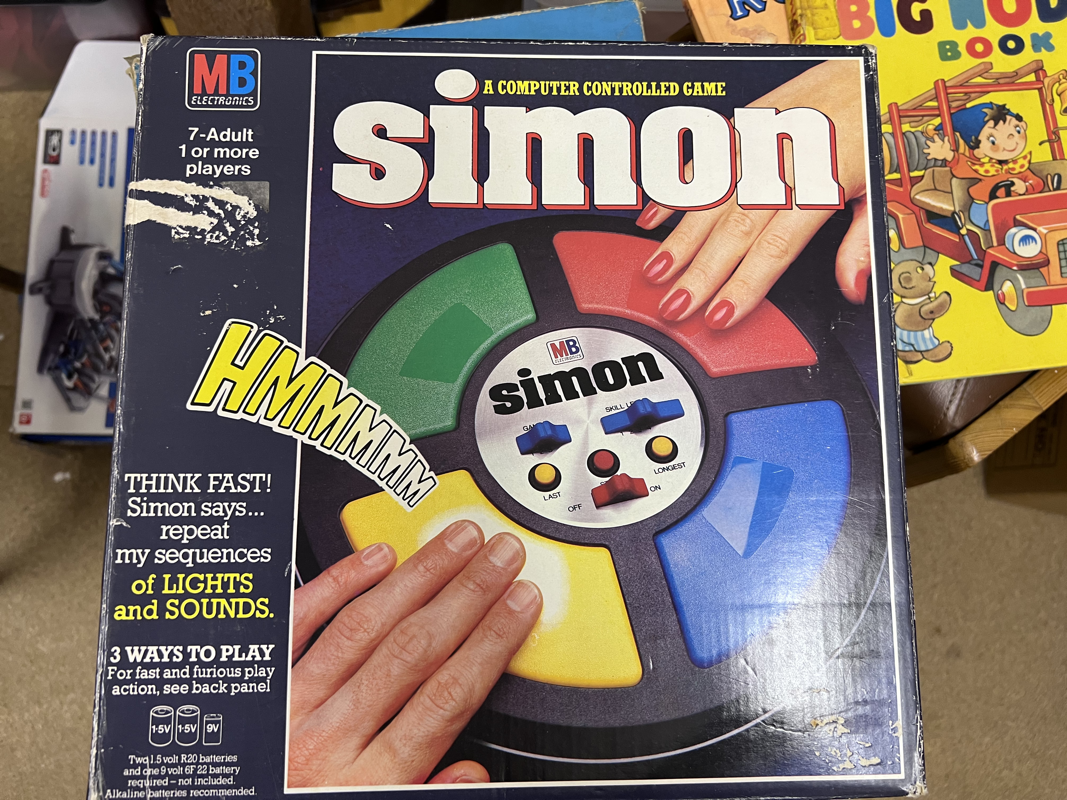
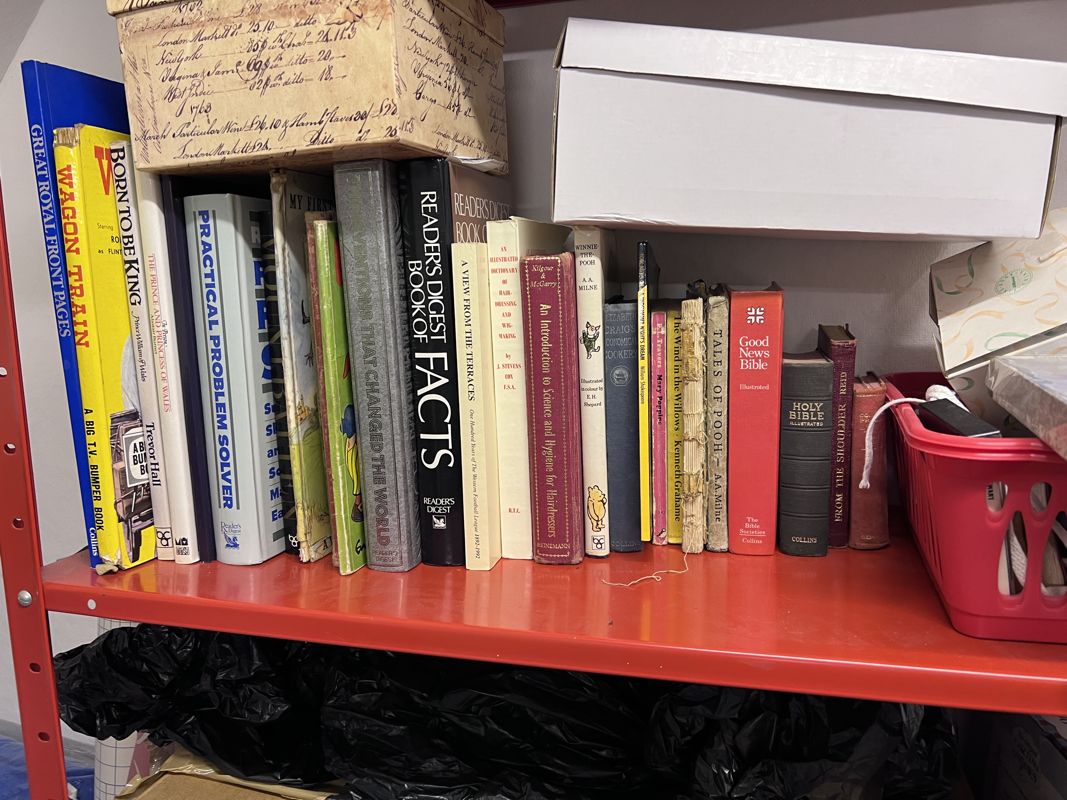
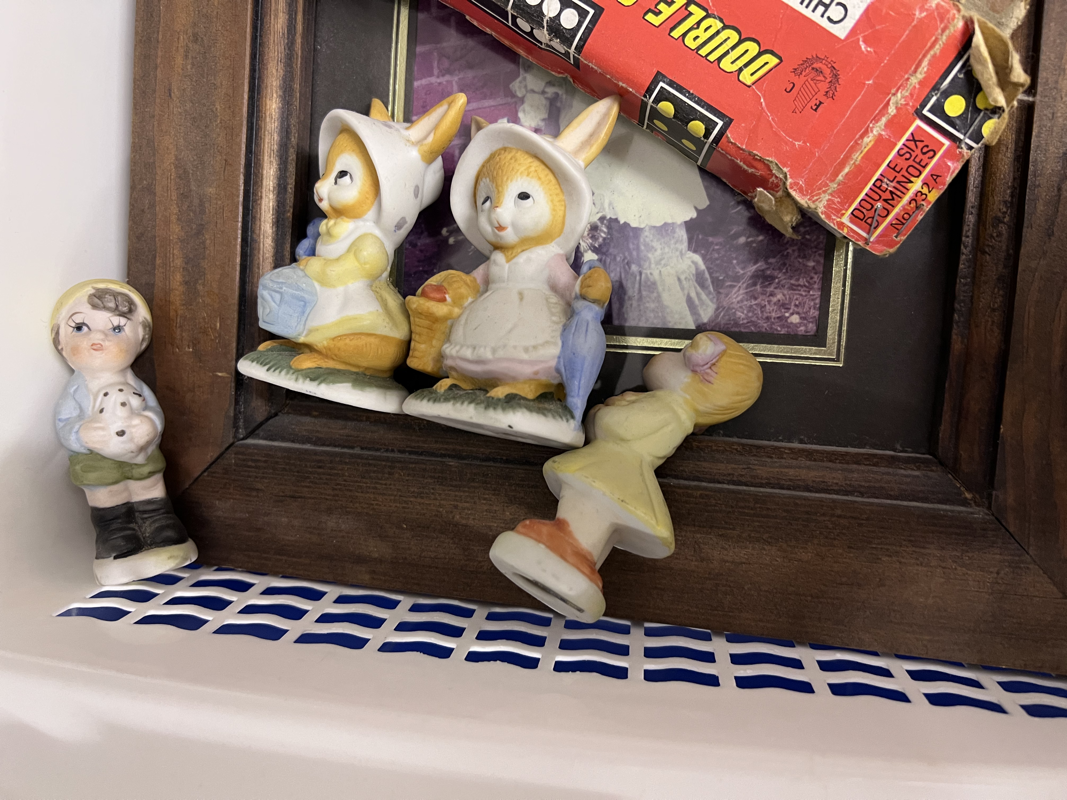
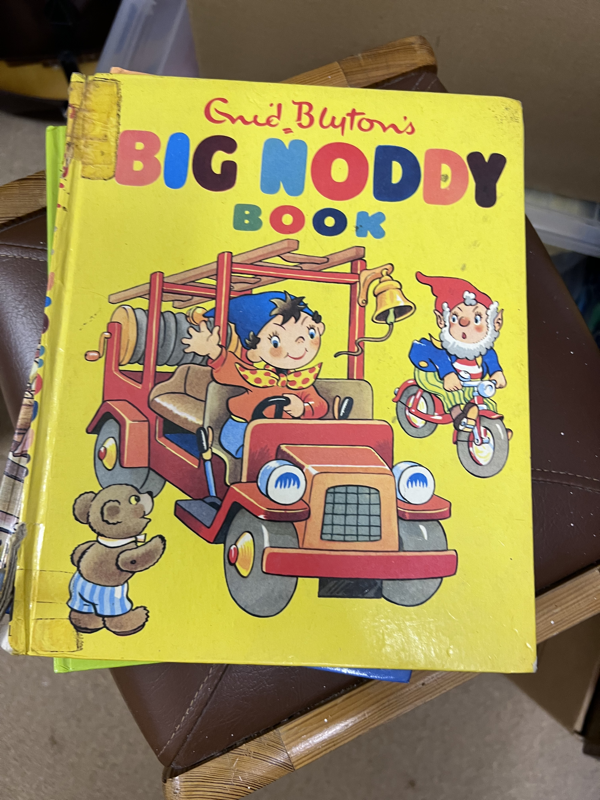
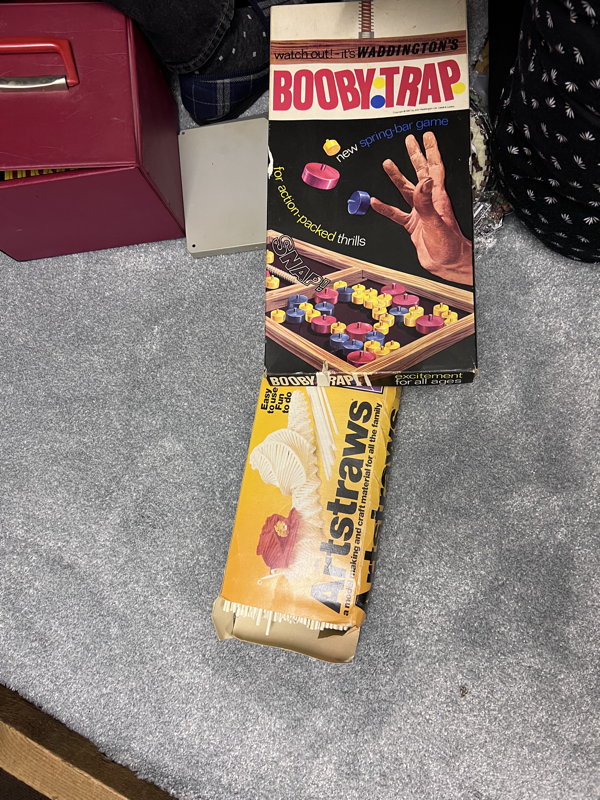
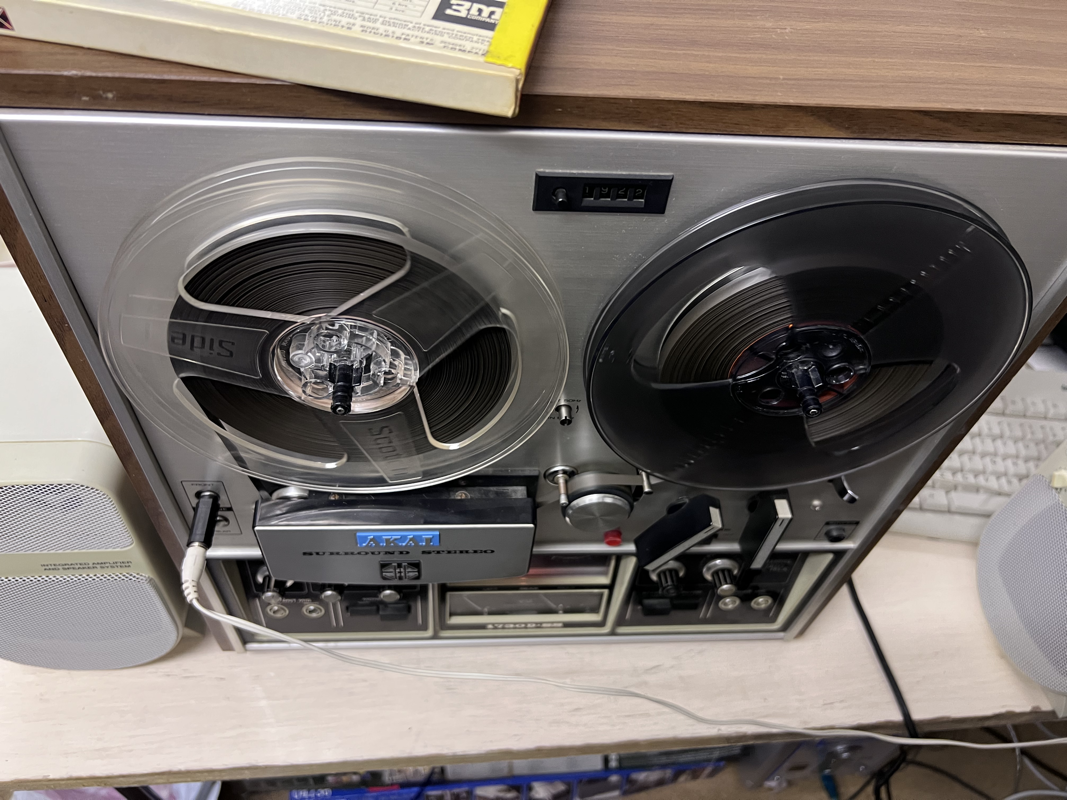
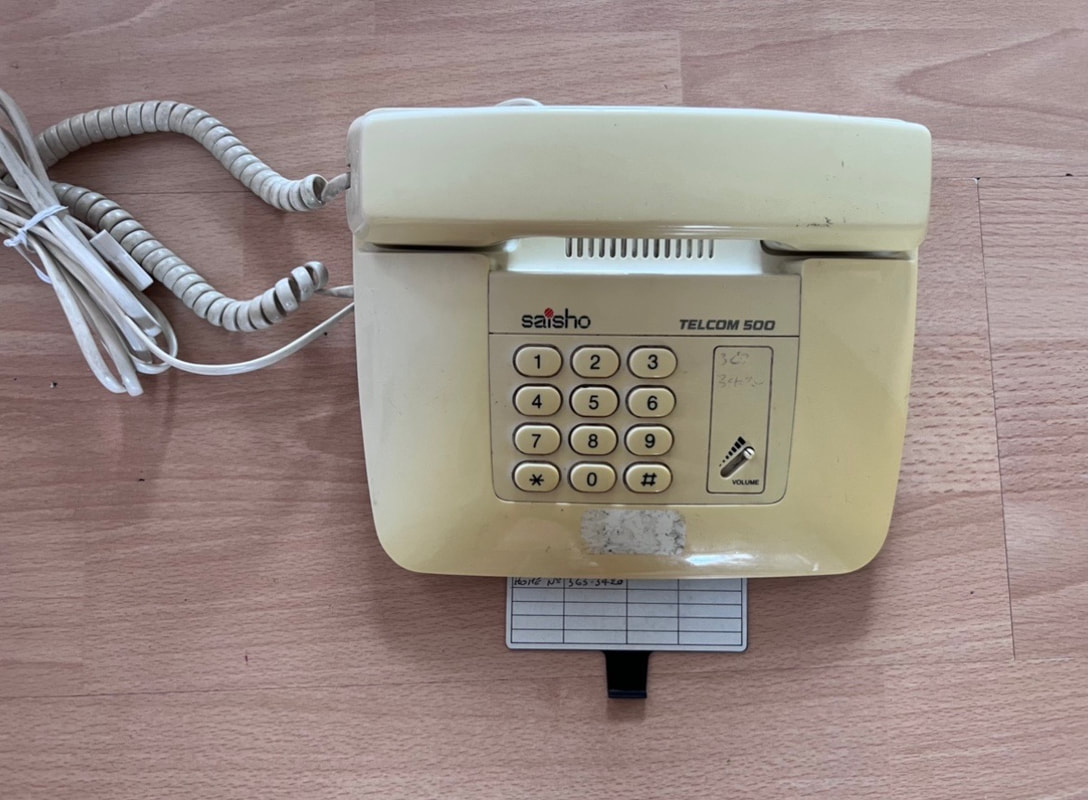
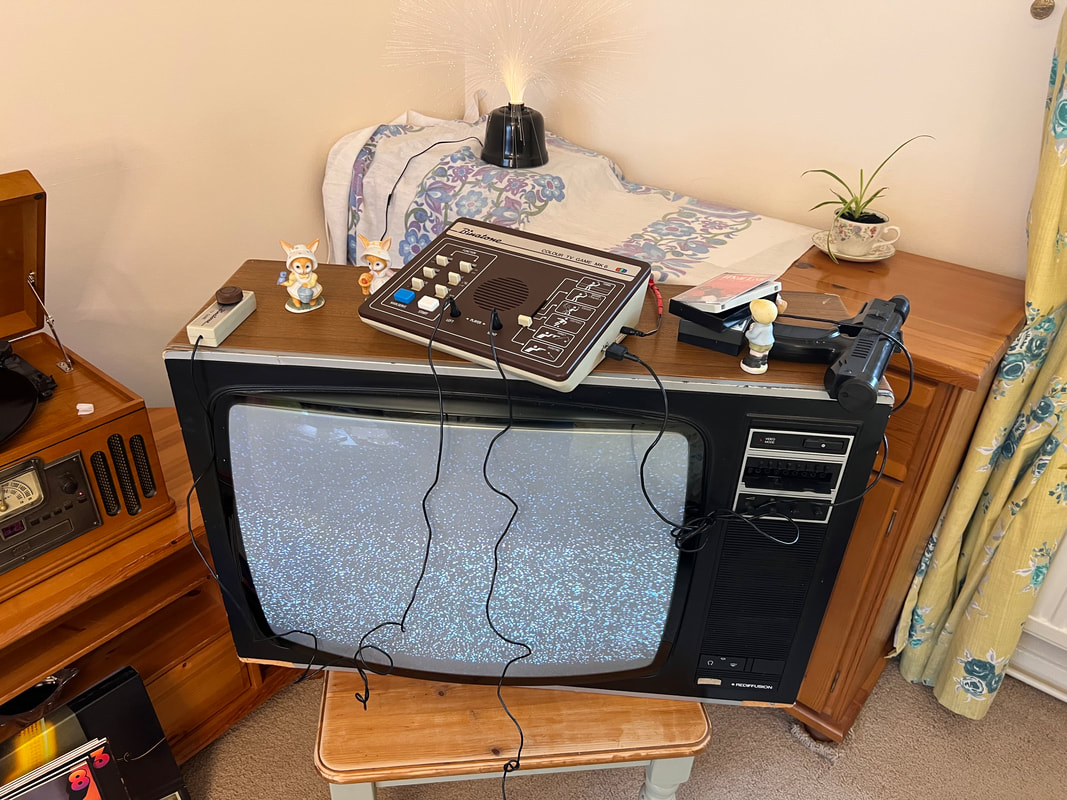
Props such as books and children's books will be in the background of some shots in the indoor scenes, board games like booby trap, tip-it and others would be played with as its a birthday party. The items such as Simon or Pong will be as a present the character got for his birthday that will be unwrapped, he will play the pong on the TV. Other family members on screen will use the tape recorder (or reel to reel player) to play music that was popular hits at the time, this might not be displayed on the actual film but might have a soft-style song playing in the background. The TV will be featured in the living room, it has a wooden panel on the side, which was what a lot of things from the 70s where like, the same as on the reel to reel tape recorder. The ornaments in one image could be used on top of the TV set as some people generally used the tv as a shelf to put small things on like photo frames or ornaments. Speaking of photo frames, i have choose pine-style ones as it looks older and contains old photos on which will replace current photo frames on the wall. A corded house phone will be in the kitchen, with a character using it at one point in the film. Other things like curtains, a table cloth, glassware and kitchen appliances will also fit the time period. Most of these props I acquired are from family or neighbours I asked if they might have anything that would be recognisable from the 1970s, For example I asked if someone had any colourful table cloths or ornaments which I got a few little bits from their childhoods.
The types of film I will be using for my project:
|
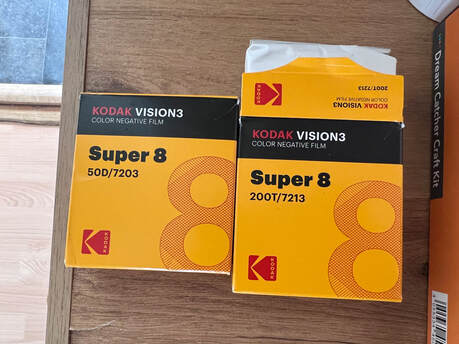
For filming inside, in an artificially-lit location, I will use 200T (tungsten) so I can make sure to capture as much light as possible (to the left). I have 50D film to capture outdoor scenes and if I have ran out of film I could use the other film (will have to add more lighting to assure it is not low-light) but it can manage inside with lots of lighting quite well (Below).
|
Production photos from scene 1:
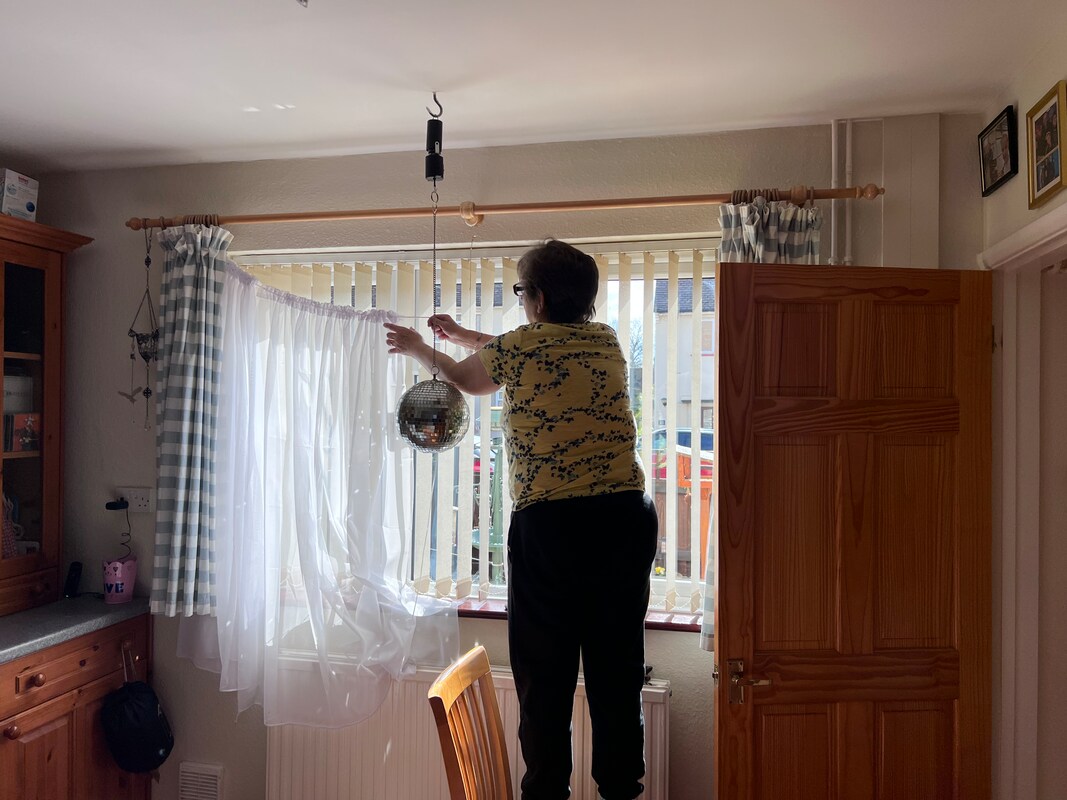
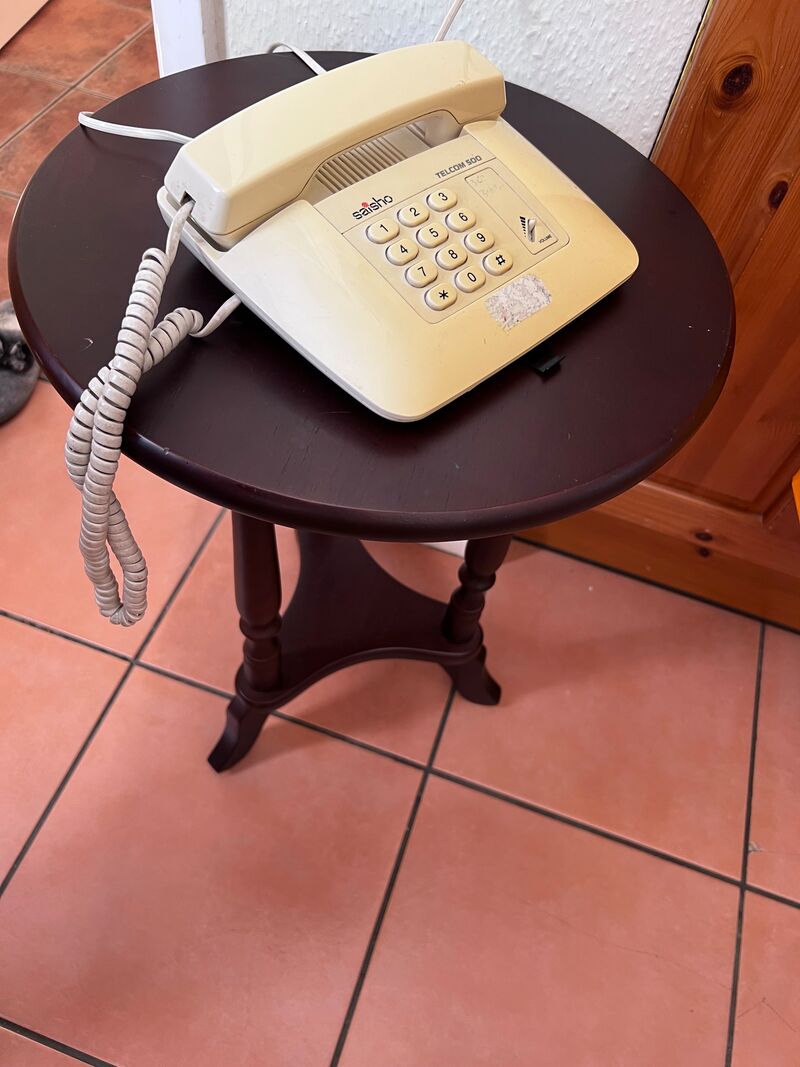
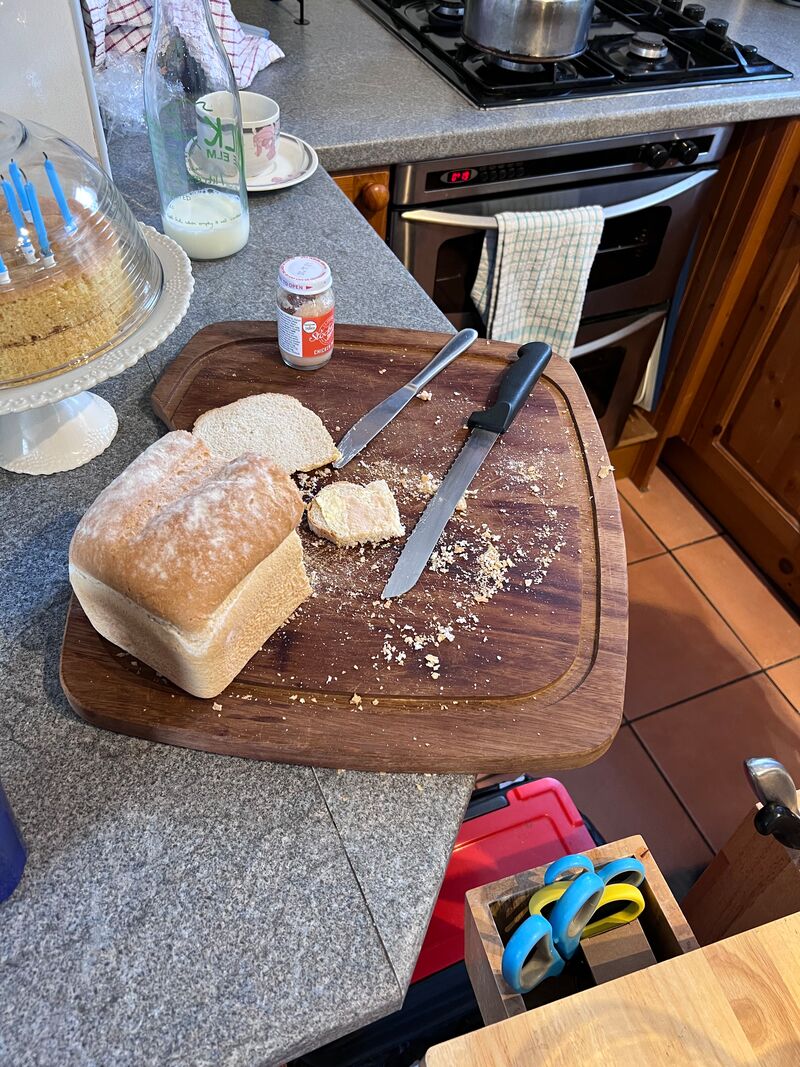
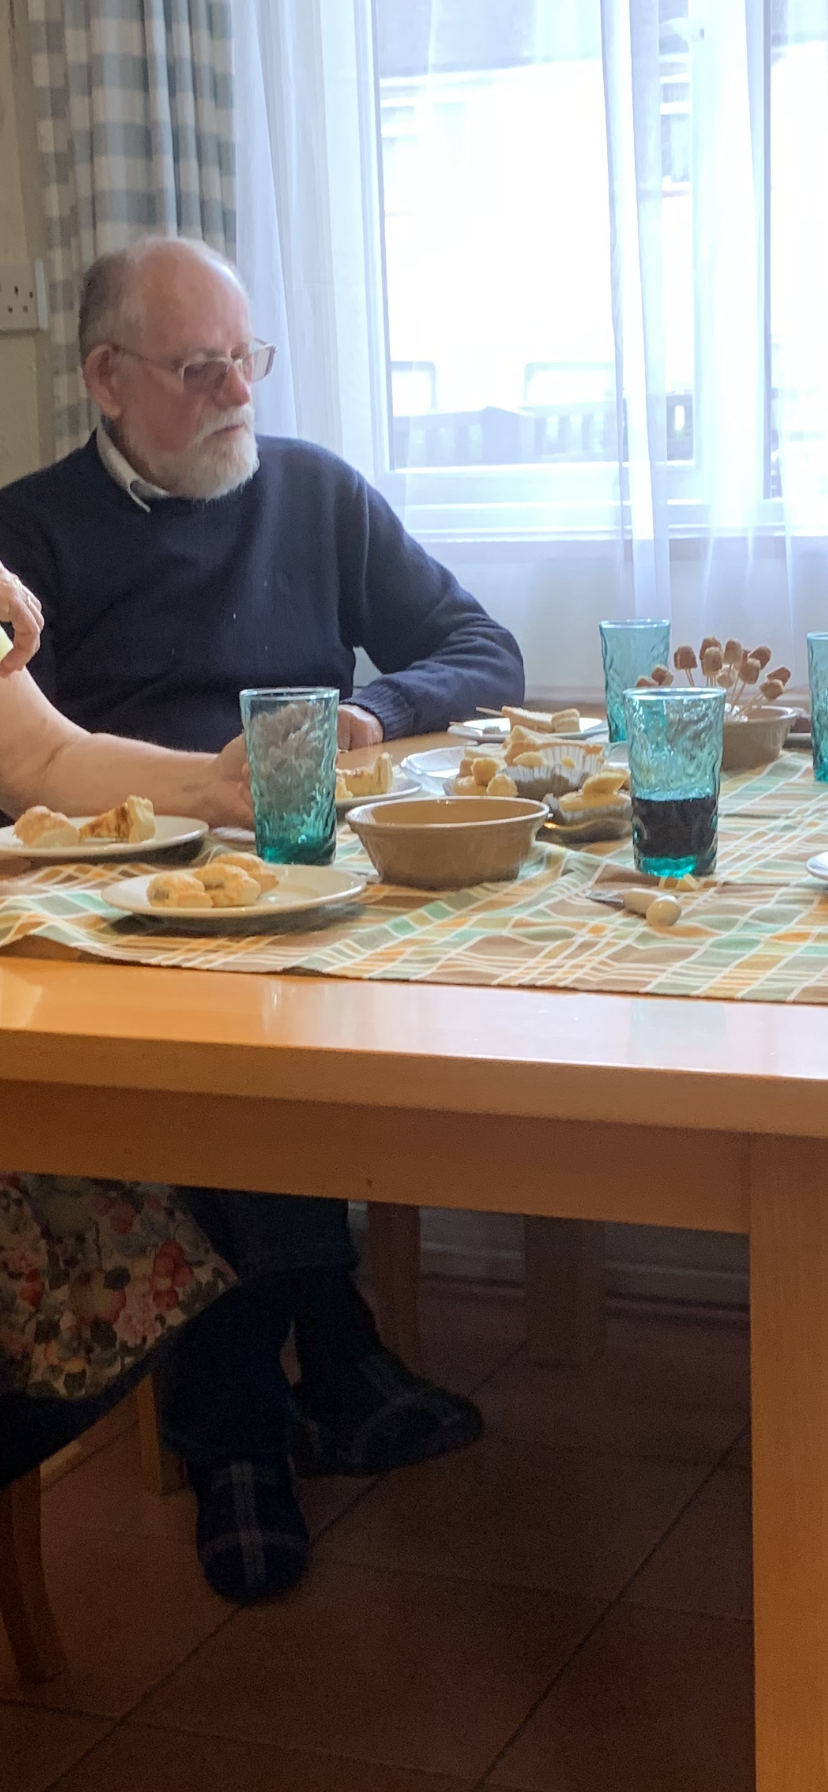
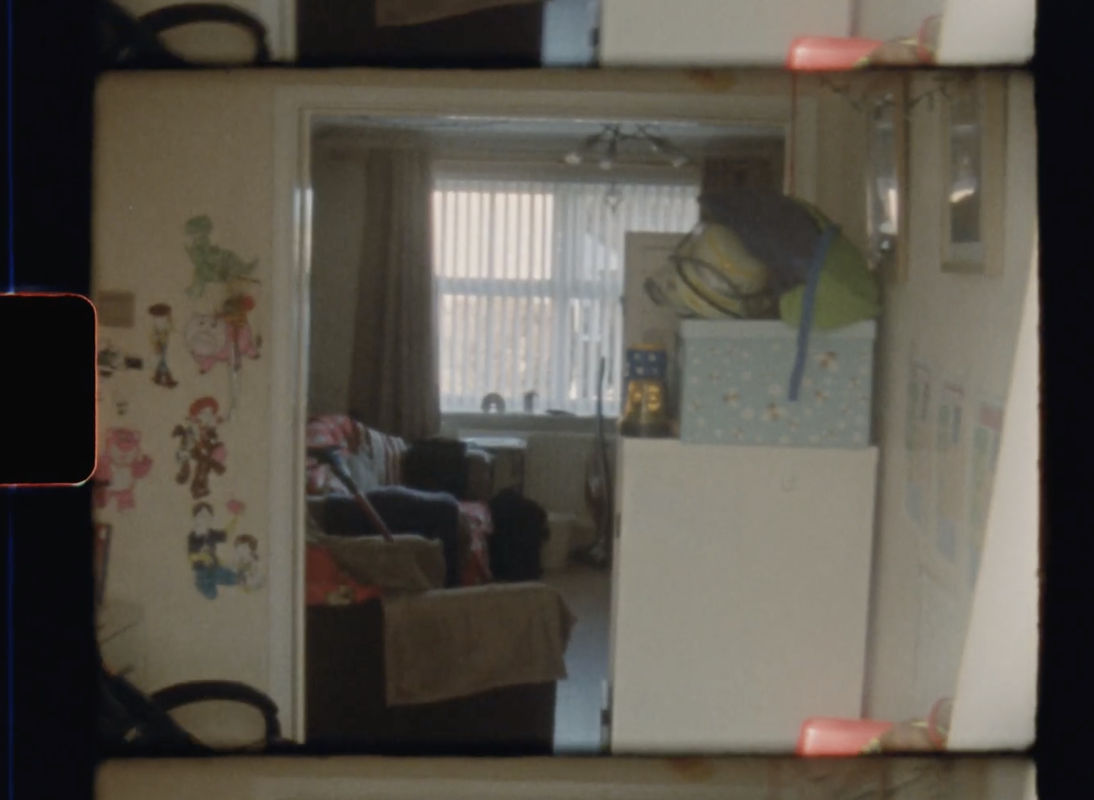
To set dress my scenes, I used net curtains over the window to be the correct mis-en scene in the background because those type of blinds wouldn't be used, also hanging up an old disco ball. To cover up unremovable things from the mis-en scene like a present day tv mounted on the wall, I used a patterned 70s-style cloth, to either make it look like its a covered window or making the house's colours pop (keeping up with the style). The home phone was replaced with an older style corded phone with buttons and no screen, it sat on a small table or 'phone table' which someone could sit down next to it. For the storyline, the camera person recorded a family member preparing party food, and was seen cutting up a loaf of bread, as sliced bread wasn't as common.
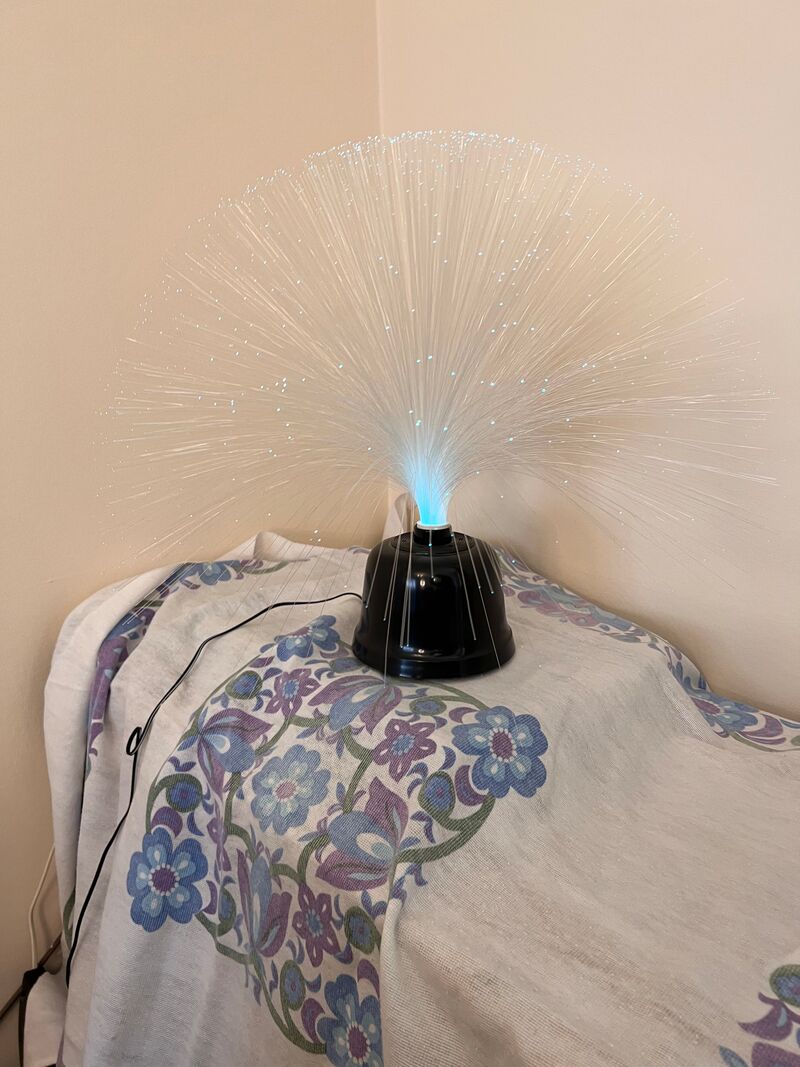
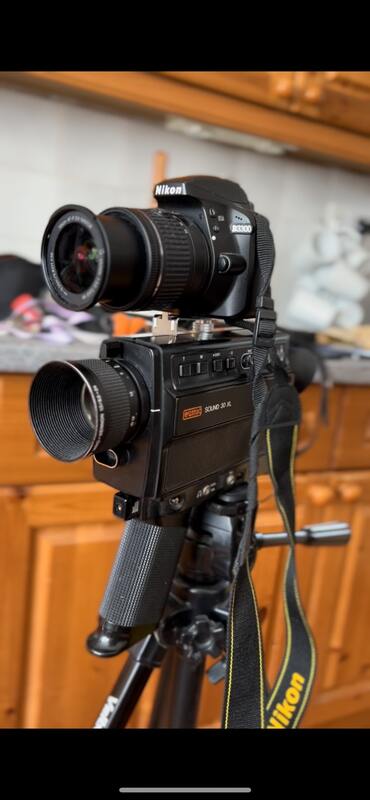
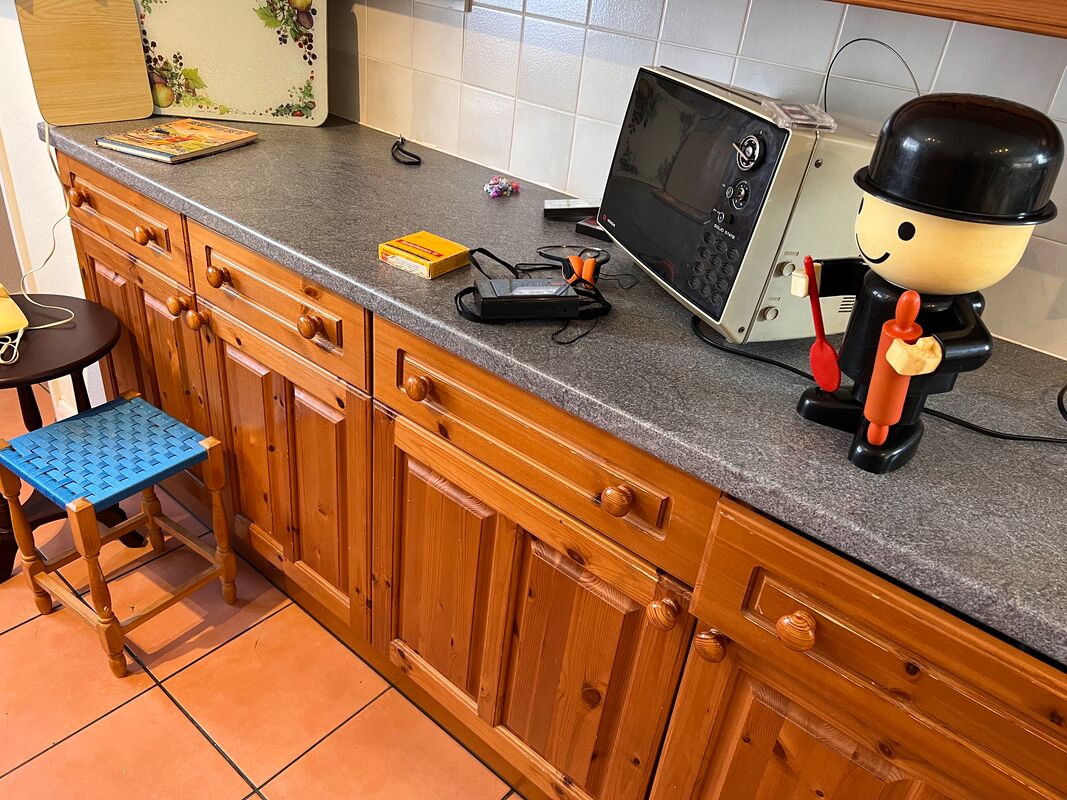
As proposed in my initial planning, i would create a digital copy of my film, which when i was filming with super 8, I had my DSLR positioned on top of the camera to duplicate the framing, and if any scenes do not look as I thought, i could replace it with digital clips and recreate the super 8 effect manually, I also had an LED panel set up on the shoe mount of the camera to provide extra light. On the worktops, I had various items laying around, such as a tube tv, a Homepride 'Fred', film boxes, children's books and a lava lamp.
My family helped make the party food for the story, including a Victoria sponge cake, pineapple and cheese sticks, sandwiches, Trifle and Jelly as a spread on the dining table.
Production photos from scene 2/3:
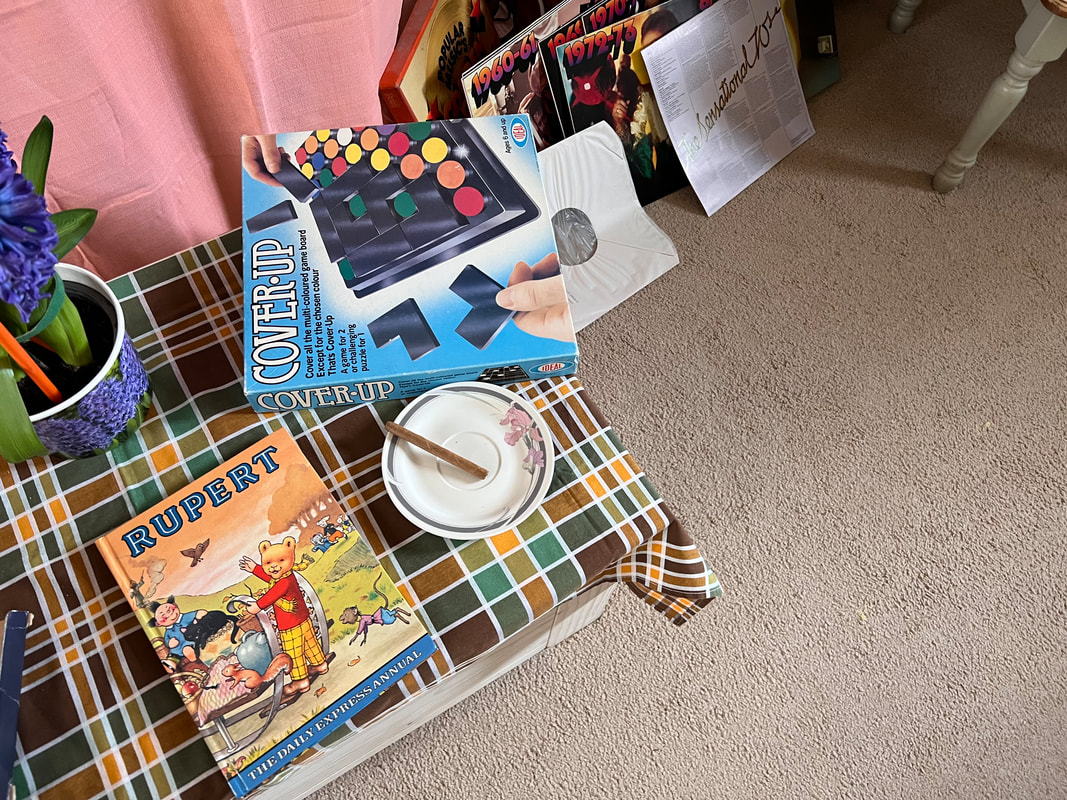
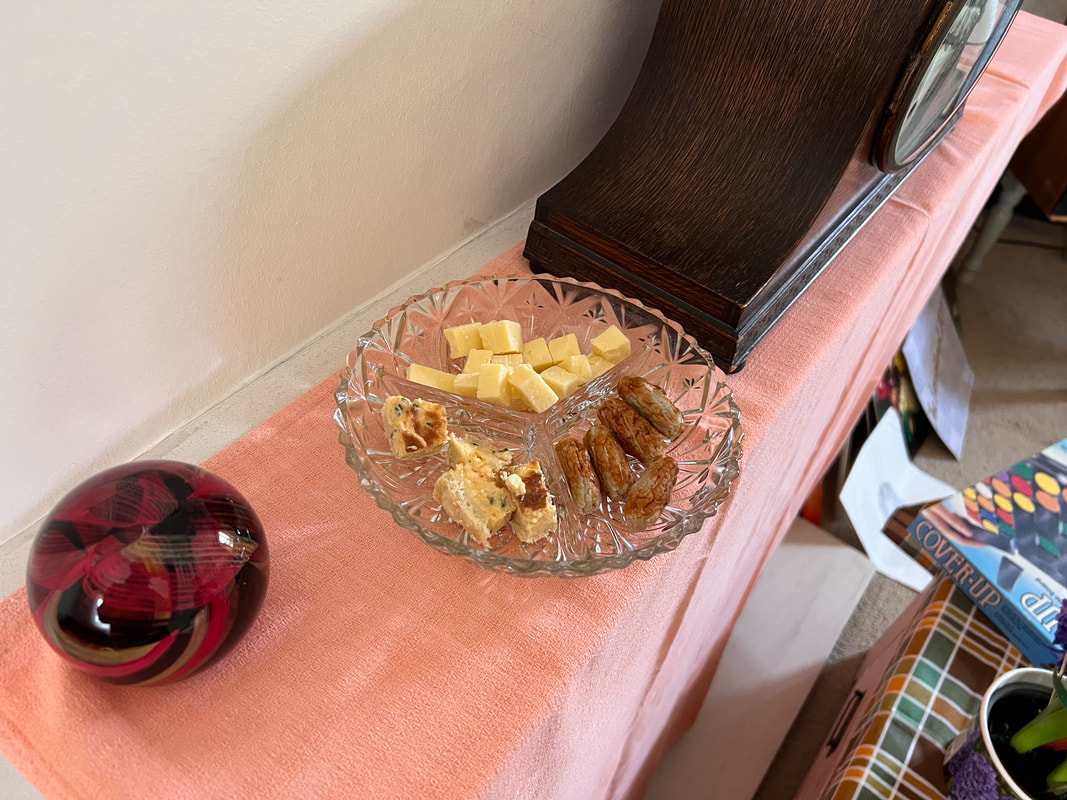
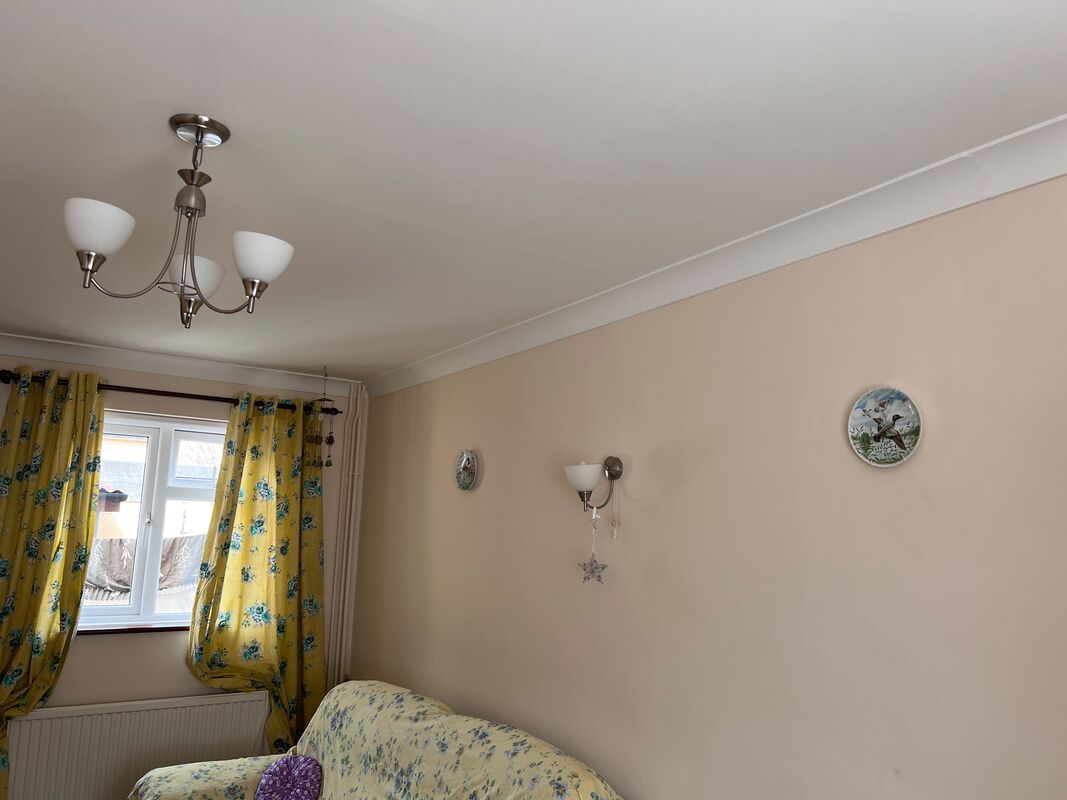
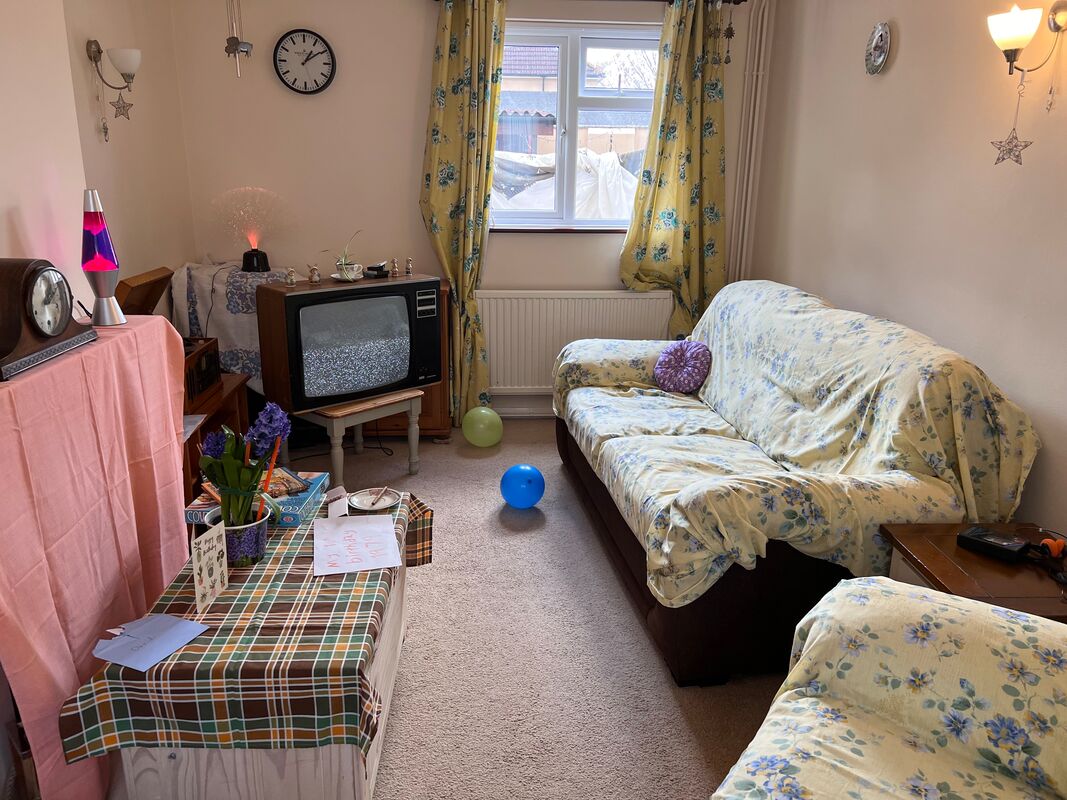
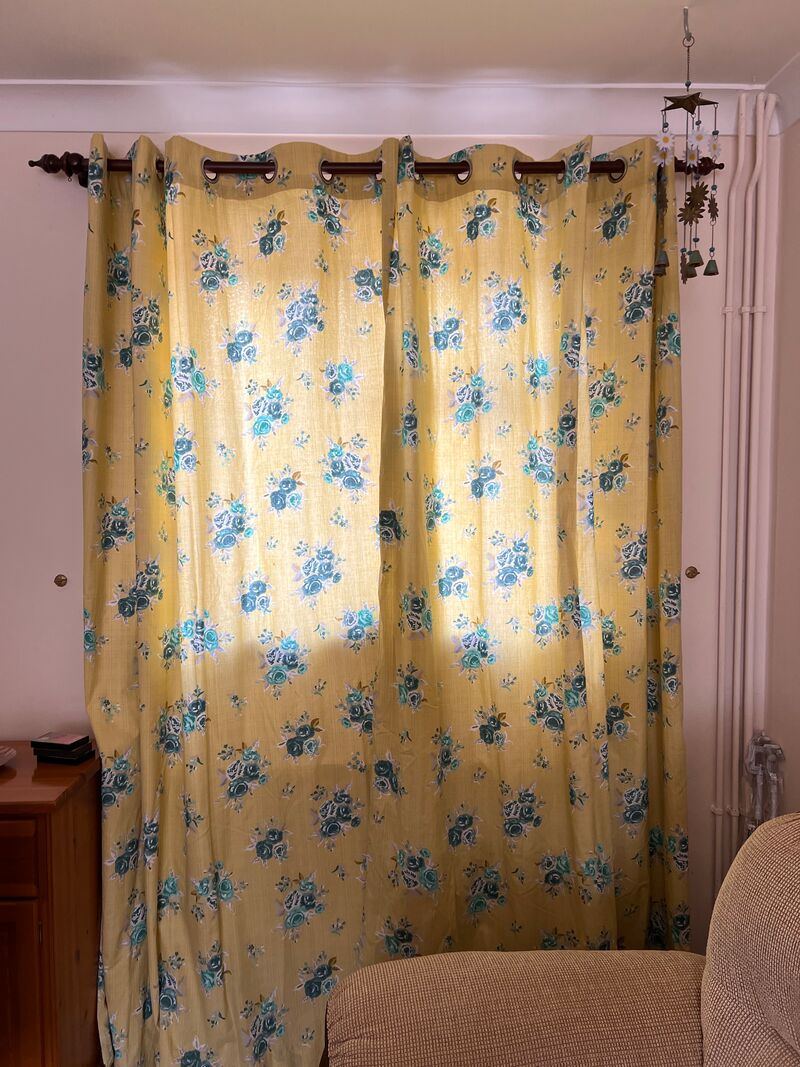
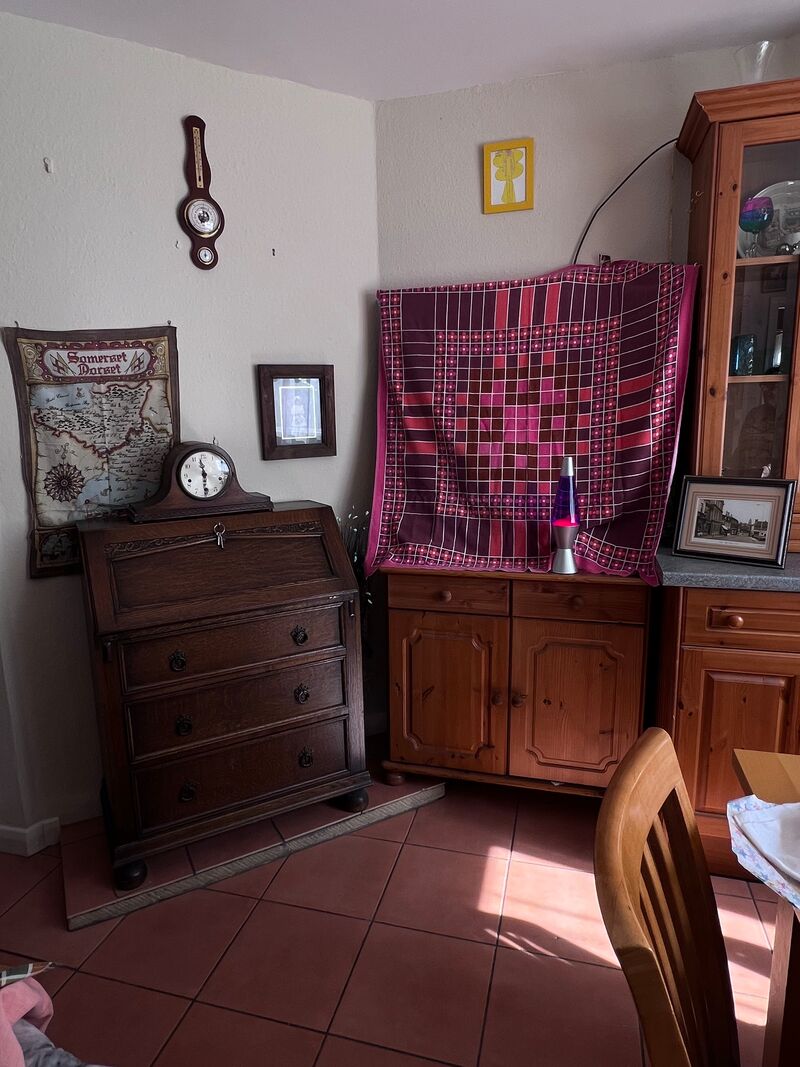
For scene 2 of my project, in the living room, I used primary and secondary research to find out how to make the set appropriate for the decade. Within a low budget I had to figure out how I would transform a modern-looking room into one from the 1970s, Using throws and blankets with a flower design and eye popping colours were often the type of things people would have had and looked like. Also table cloths to cover a coffee table with a brownish/green colour, and a sheet to cover a stone fireplace which would not have been able to set dress well. Props for this scene included; A wooden tube TV, a Pong game system, yellow-flower curtains, different types of nature/flowers set around the room, balloons/party poppers, LPs and a wooden HiFi/record player and tape cassettes laid around, board games like Cover-up and Booby Trap, a chiming mantel clock and decade relevant things like annuals, a cigar and some display plates with pictures of ducks/birds.
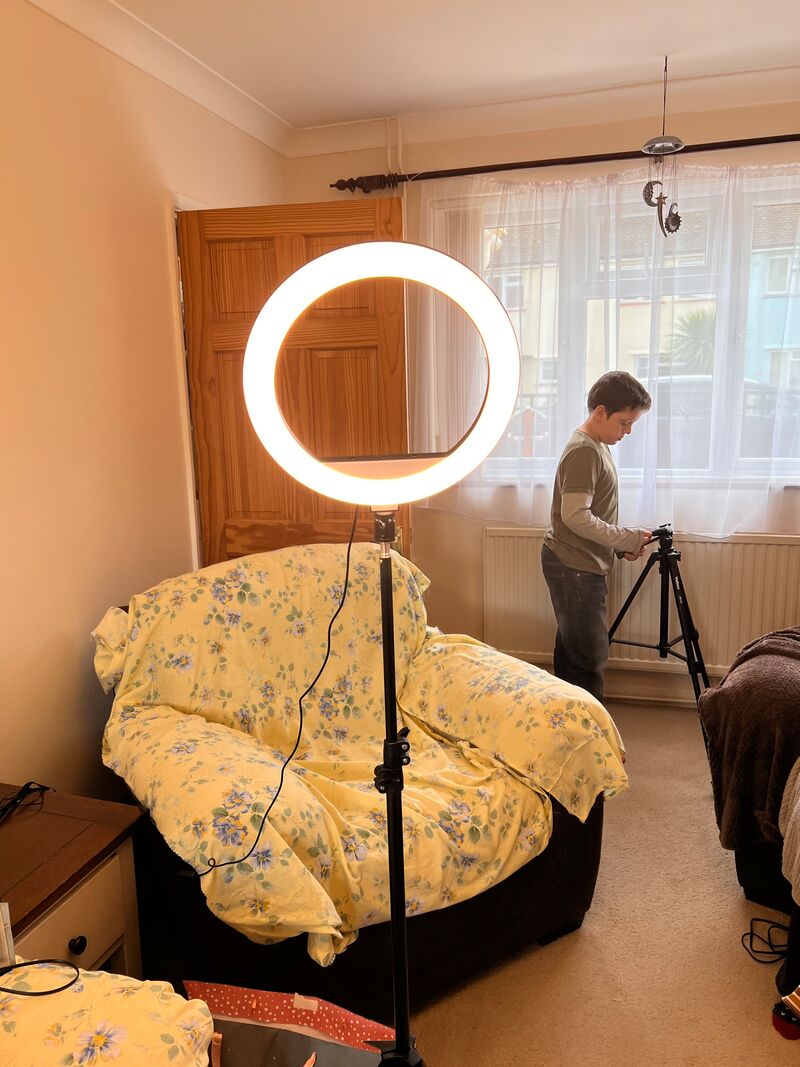
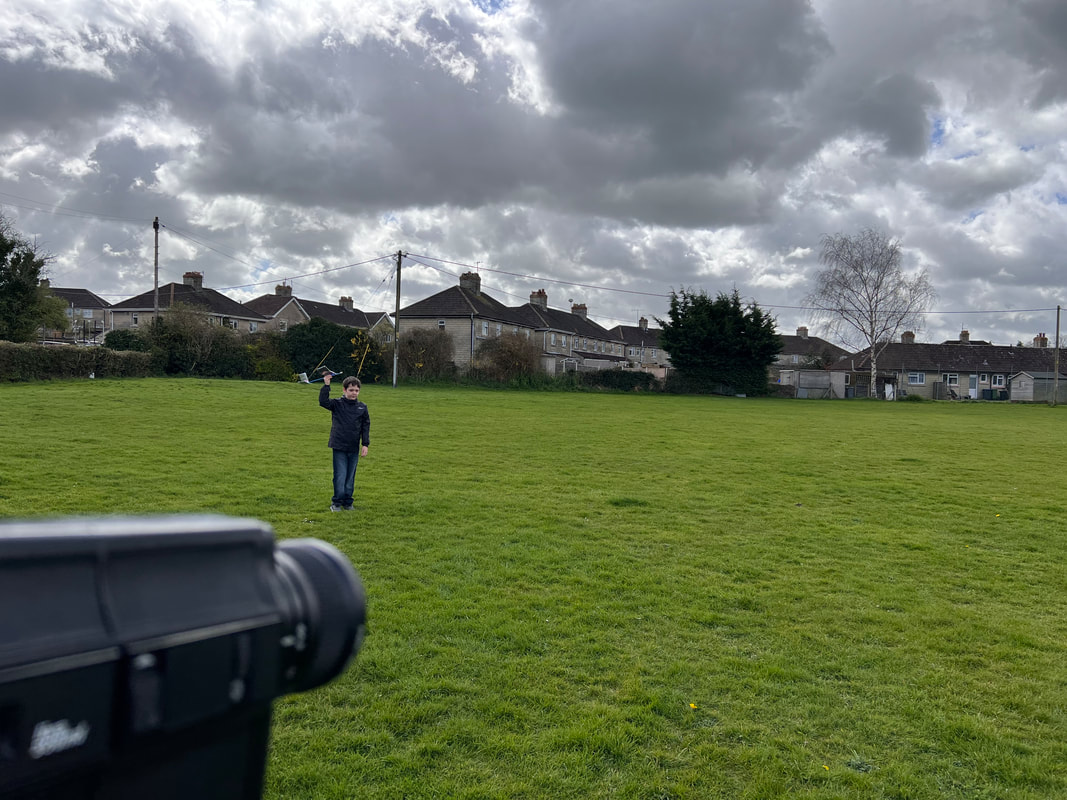
To make sure I had enough lighting as I had to use some daylight film for some shots in scene 2/3, I used a ring light which made the scene a lot more vibrant and 'homely', I also used a hot shoe LED on top of my DSLR. For scene 3, I went to a small field which had lots of houses built around the 50s/60s in the background and I had to make sure to not get some newer houses in the frame on the other side, I filmed a sequence where the birthday character was flying his plane around on the windy day. I filmed a short journey there and back (the journey back may not have been captured as the film was exposed by the time. Filming took place between the 02/04-07/04 (3 film days).
To make sure I had enough lighting as I had to use some daylight film for some shots in scene 2/3, I used a ring light which made the scene a lot more vibrant and 'homely', I also used a hot shoe LED on top of my DSLR. For scene 3, I went to a small field which had lots of houses built around the 50s/60s in the background and I had to make sure to not get some newer houses in the frame on the other side, I filmed a sequence where the birthday character was flying his plane around on the windy day. I filmed a short journey there and back (the journey back may not have been captured as the film was exposed by the time. Filming took place between the 02/04-07/04 (3 film days).
Costumes used on set:

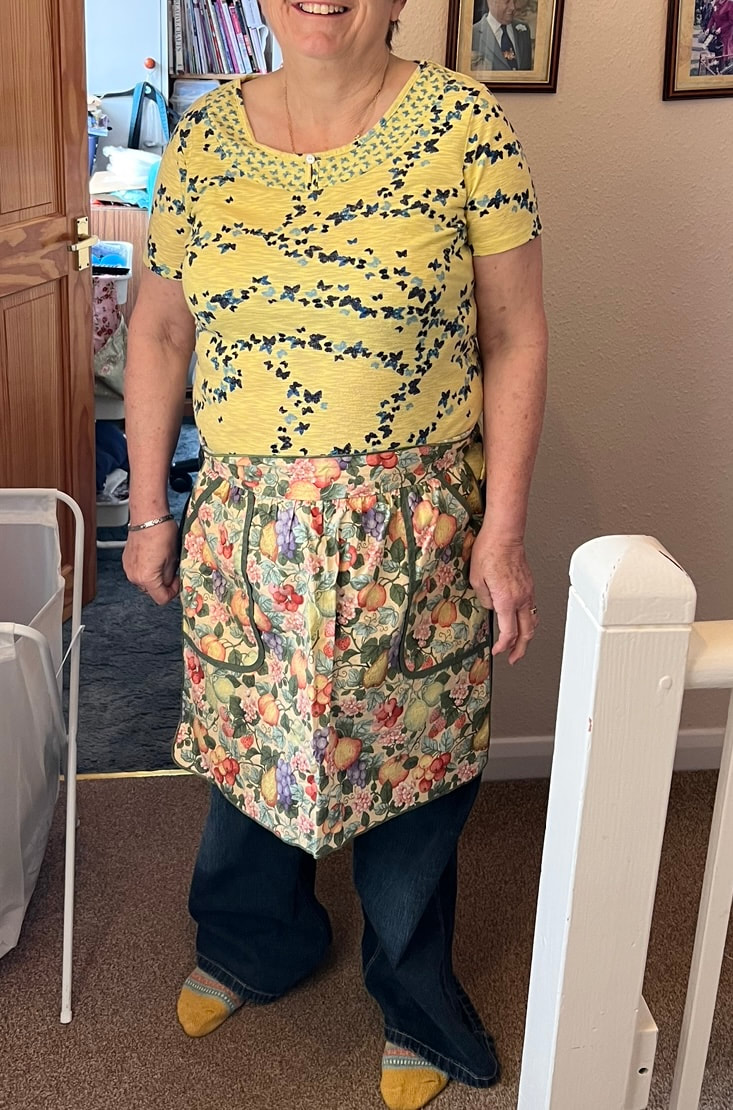
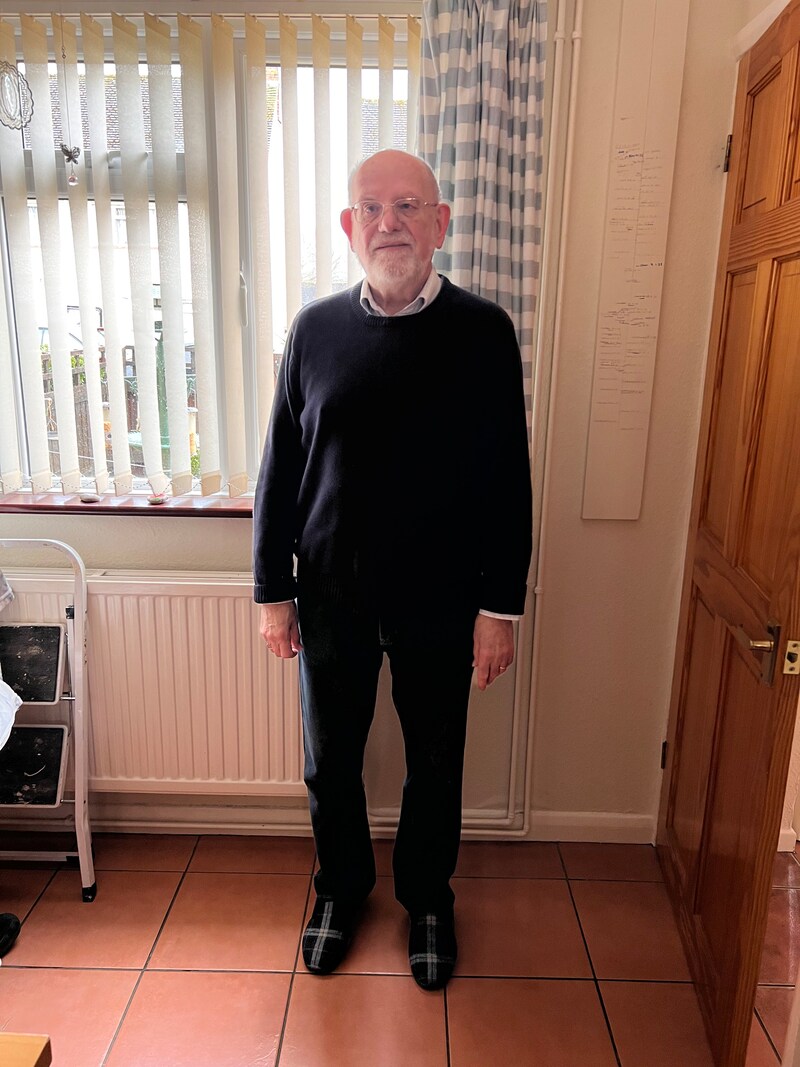
A brown long-sleeved t shirt and loose jeans were used for the character whose birthday it is, another character is wearing bell bottom jeans with a flower-like design and an apron (used primary research) and for another character he wore dark jeans, a shirt and a pullover and slippers.
For advertising my product, I have created a thumbnail for online viewing like YouTube, also there will be a poster before the film is released:
I have used Adobe photoshop for this as I already know how to use it.
I have used Adobe photoshop for this as I already know how to use it.
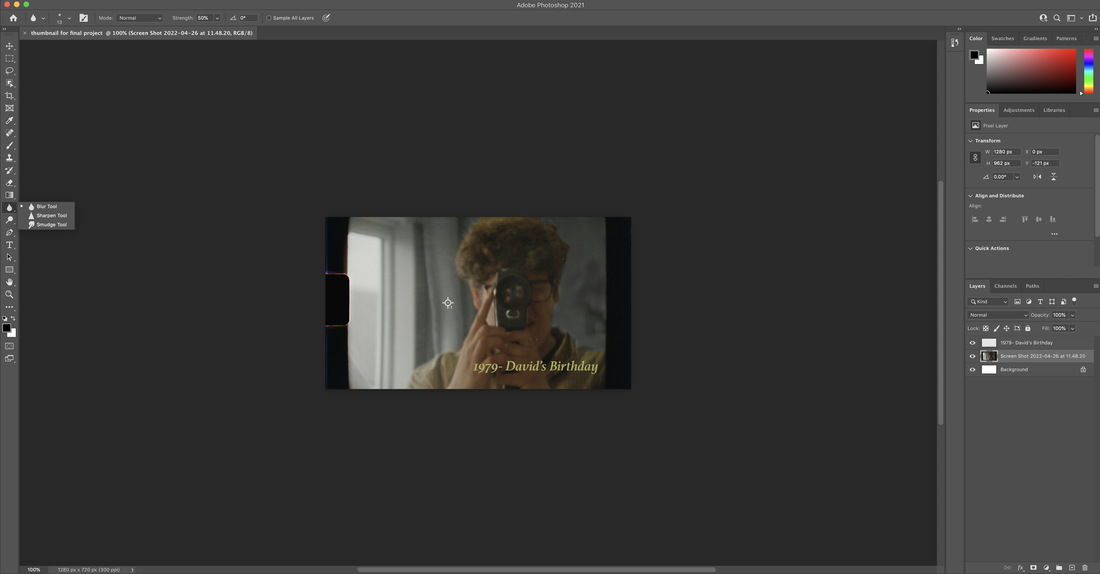

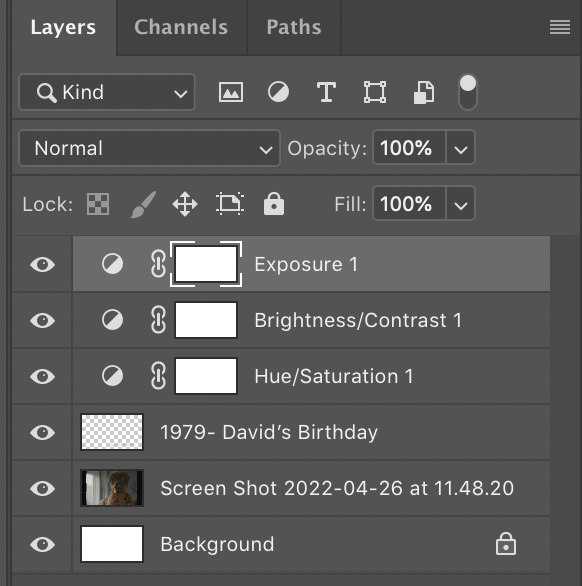
I used Photoshop to create a thumbnail for the uploaded video, I used tools like the burn and blur to add a blurred background and made used the eye dropper tool and colour swapper tool to make the background black and white, to make the character in frame more the focus of the image. I screen grabbed a clear still from the film including the 4:3 aspect ratio which is authentic to the film. I added text using the text tool in the bottom right matching the colour using the eye dropper tool of my shirt I used which fits into the same colour pallet as the 70s, being beige. I stated the year it was set in and the birthday characters name. The font I used was to match what hand writing is like to make it more personal to the family's film. I researched the YouTube thumbnail dimensions and input them into the project settings before I started.
-07/04 sent film off to lab.
-25/04 received film back.
-25/04 received film back.
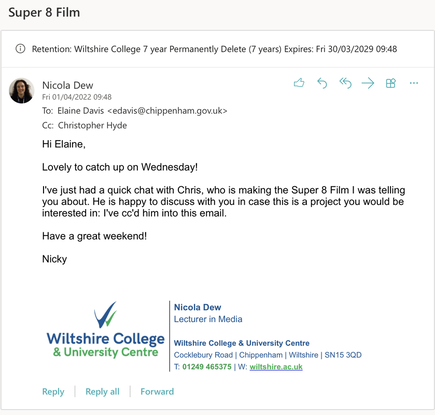
Nicky has a friend in the Chippenham Museum that she has reached out to about my film, Elaine has said previously that she might be interested in seeing it:
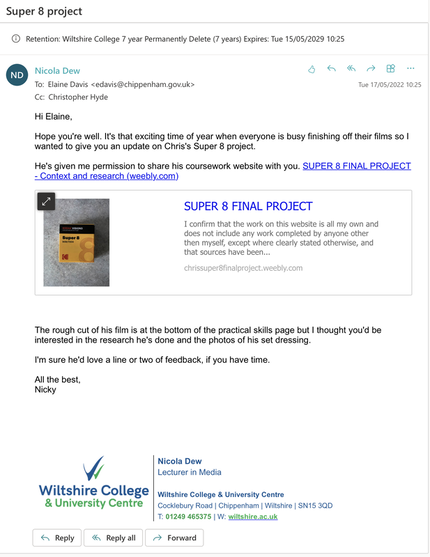
Here is where Nicky emailed Elaine again to confer about my final project and it now has a first draft that has all the scenes on it. At this point I still need to add more foley to add more depth towards the end of the film.
Test shoots from the scenes 1/2:
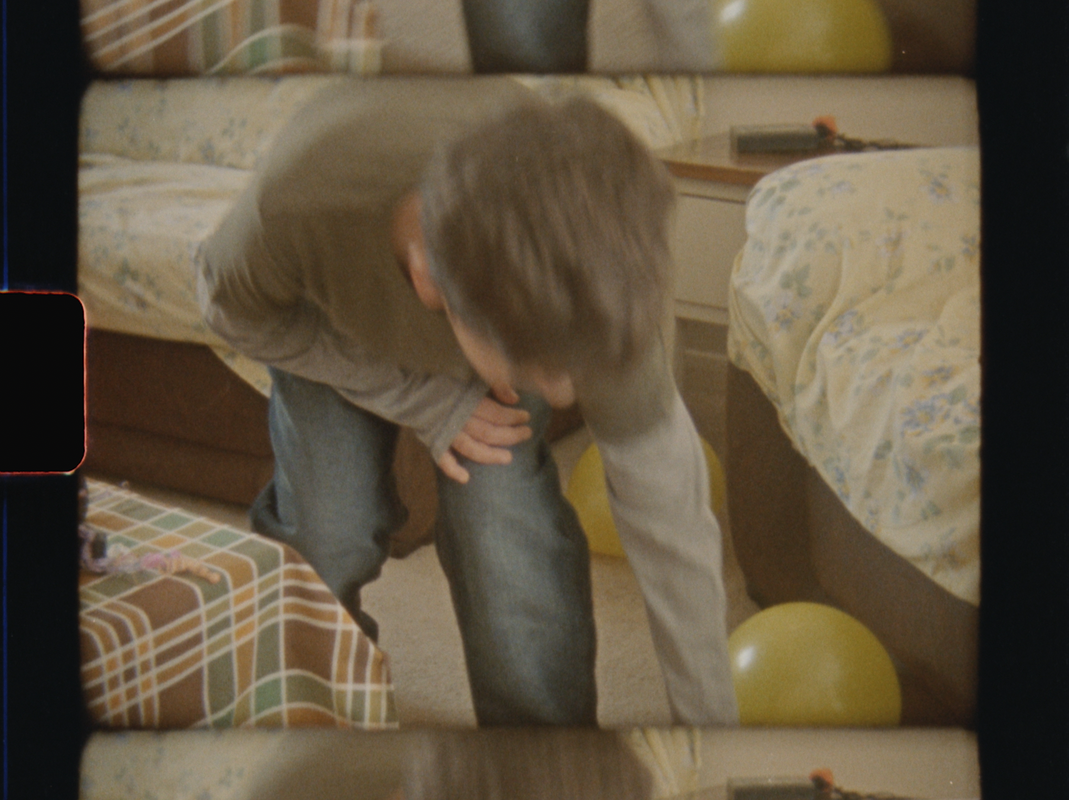
Tests shoots from day of filming, replicated shots filmed digitally:
Here I filmed what I was filming on film but digitally to make sure I could still use the scene(s), if any shots didn't look the same way as I expected, I could use shots from a DSLR and add a super 8 film overlay over the top and use keying to make sure it matches up with the sprocket holes on the left (visually) and replace the original with the edited version if there is not sufficient light hitting the film to make sure the scene is bright enough. Looking back and comparing this to now I have my actual footage back, I realise that super 8 has good filming quality, as this isn't measured in pixels like it is digitally in todays world, the actual light would be imprinted on the film ensuring a clear picture, depending on how big the film gauge is. If I were to edit it again, I would get rid of the under exposed look and wouldn't decrease the pixel quality.
Here I have recorded several Foley sounds for my project, where ambience noise and small conversation is heard, adding to the depth of the film:
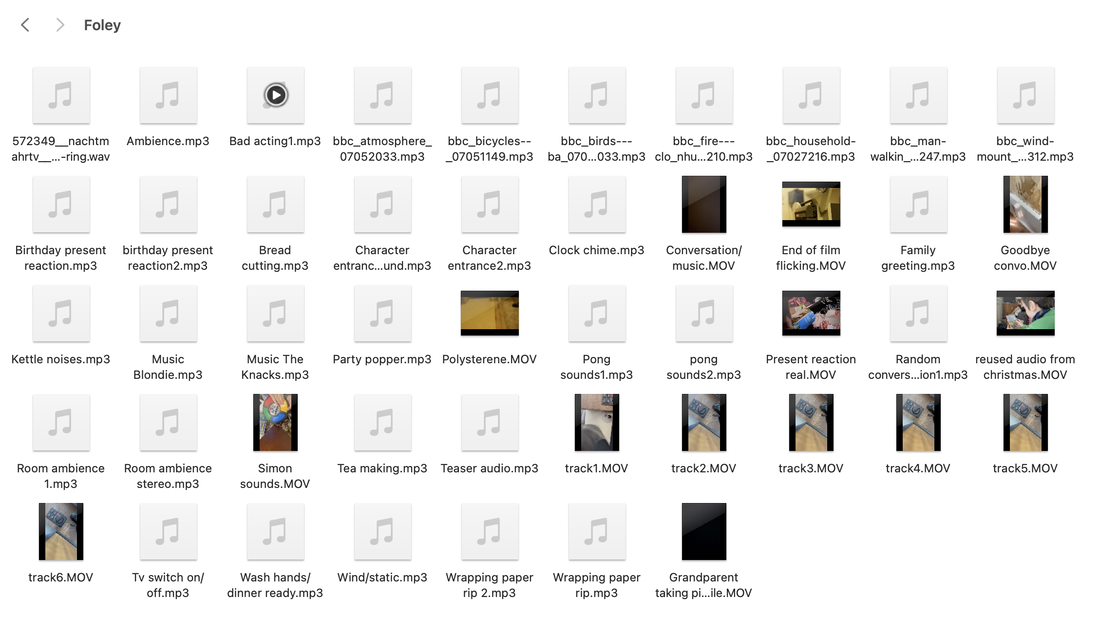
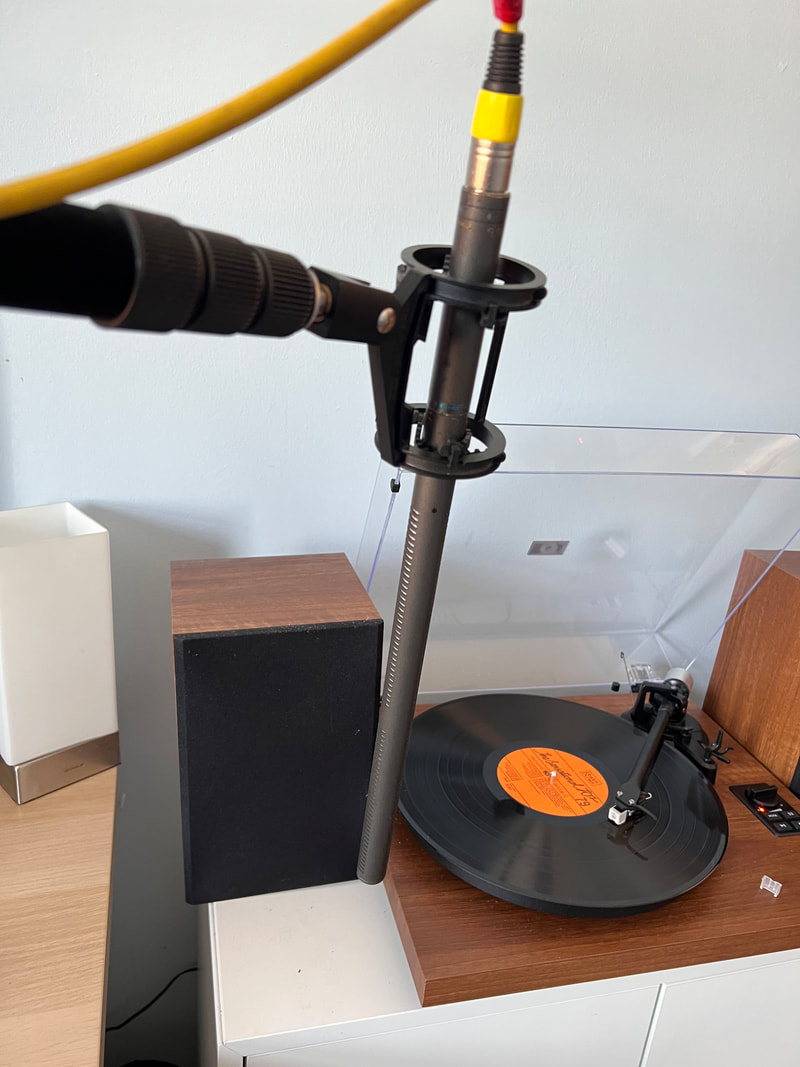

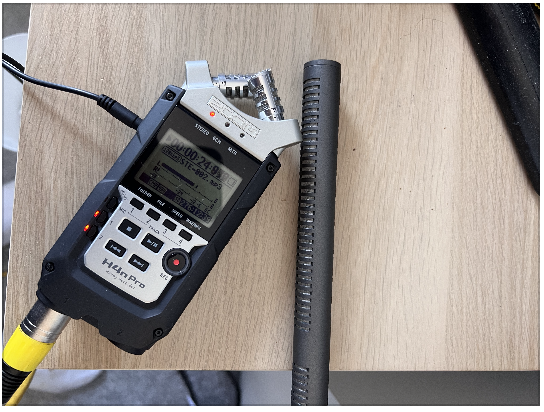
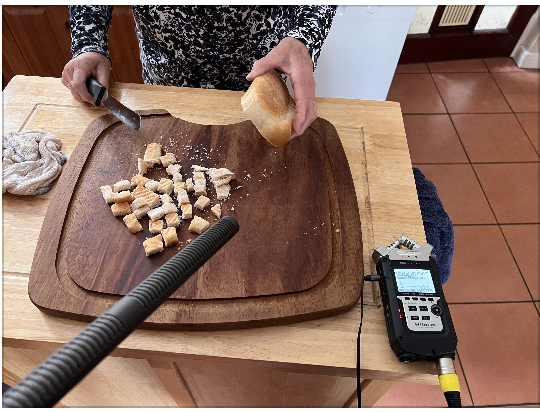
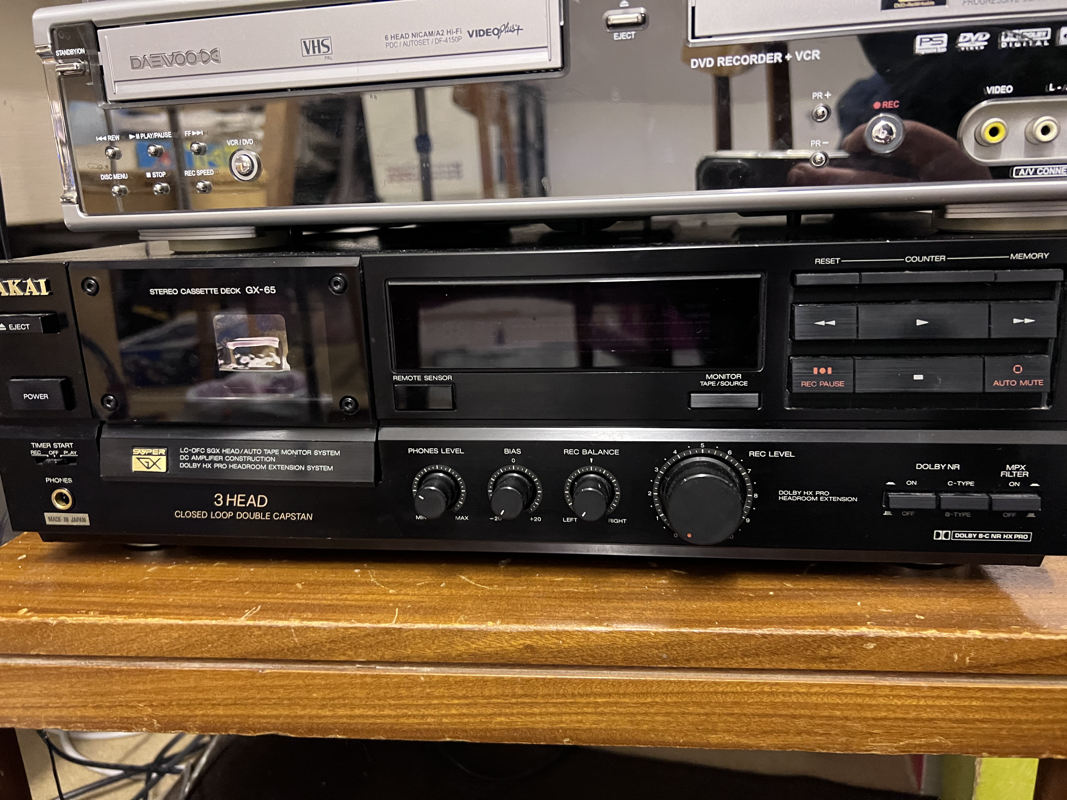
Using the stereo microphone/boom mic I recorded lots of Foley that could be used in my project, things like the kettle boiling, slicing the bread, the music playing off the record player, room ambience, Pong sound effects and pouring milk and water into a cup for tea.
*Some of the sounds I used, I downloaded from the BBC sound effects library which is free to use and is royalty free meaning I can use it if I follow the certain distribition limits. These were sounds I couldn't capture myself accurately, for example where I wanted to catch wind, I couldn't record it without it being more white noise (this was after I used and returned the zoom microphone which had a dead cat shield), so I used the sounds on the website (Referenced on Bibliography page).

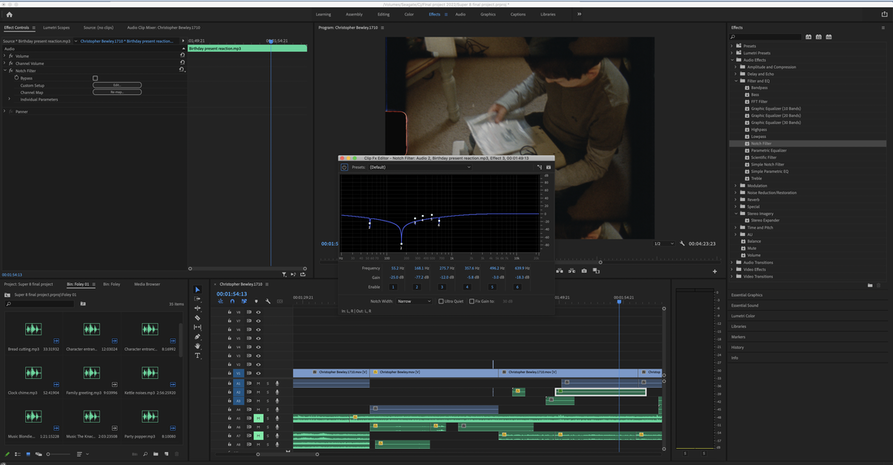
While editing I have come across some problems with mixing the Foley into my project, where it almost sounds too crisp to be recorded on 1970s technology so to overcome it I have added some distortion effects on Premiere Pro, by exploring some different effects and what they do to the sounds, I chose the Notch filter to make it sound more distilled and plastic-like. Having the other audio channels muted so I could cleanly hear what I was editing made it more easier.
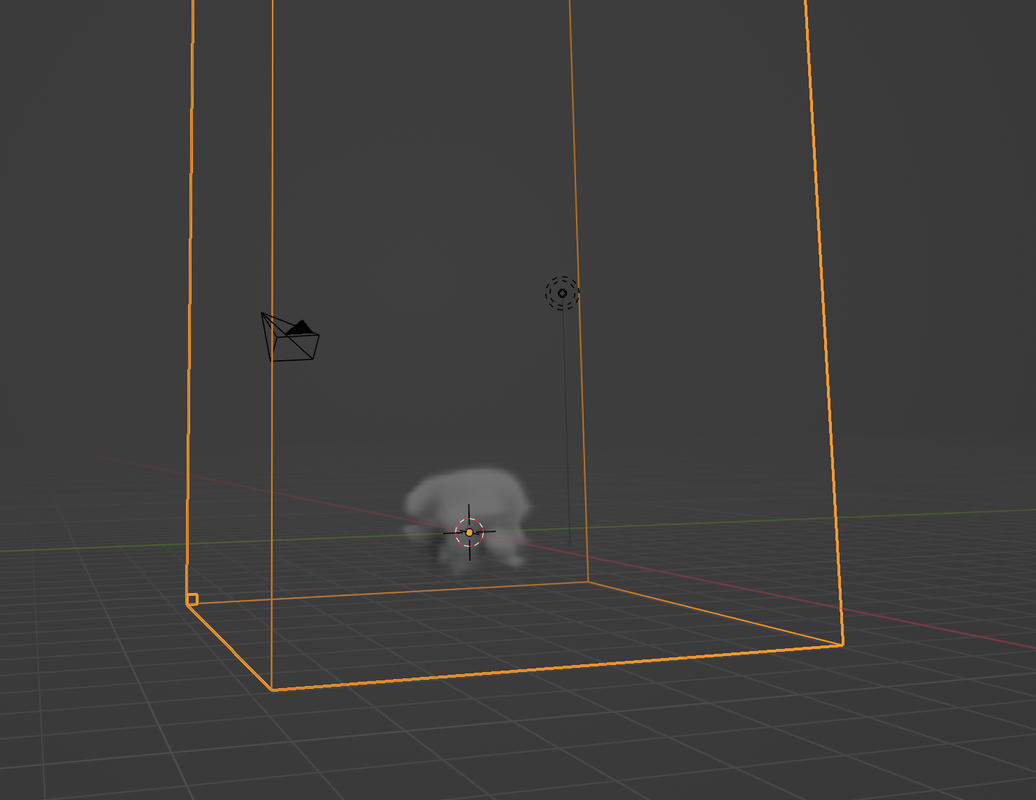
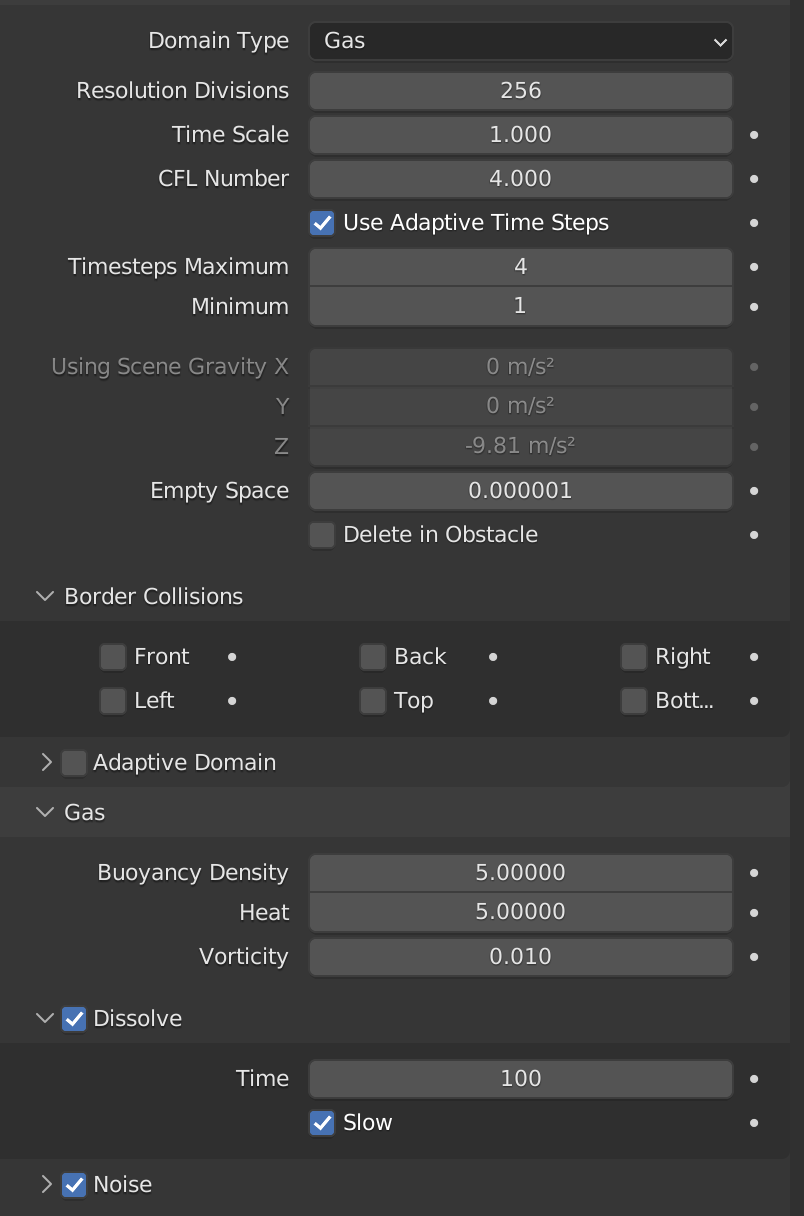
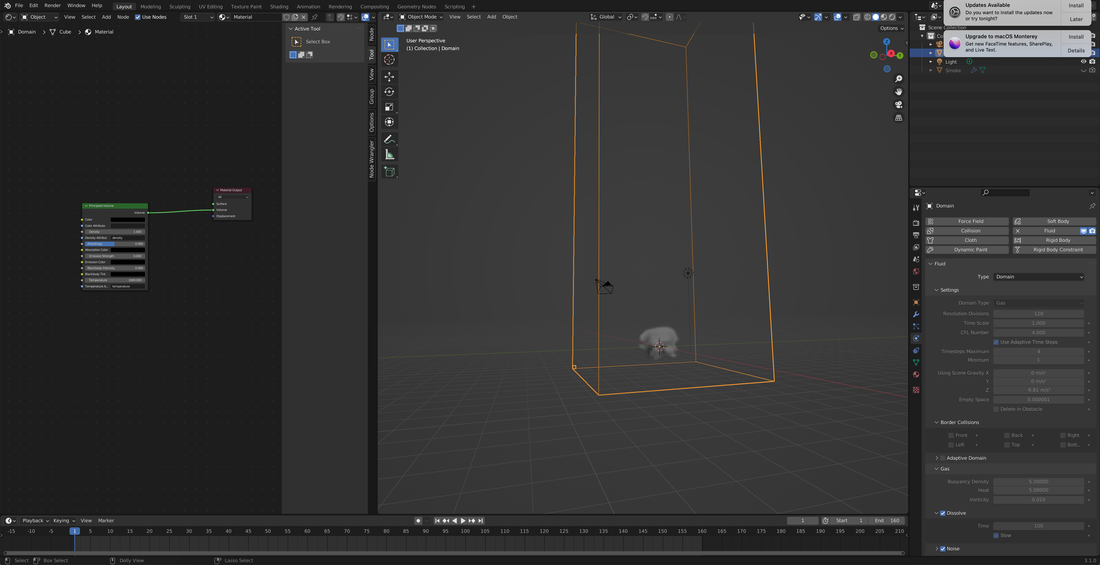
For one shot where one character is seen smoking (casual activity in the 70s), but doesn't in real life, James offered to create a short smoke simulation on Blender for which I could overlay on the original clip and blend it correctly so it looks as realistic as possible. To make it look real, I had to go through the project frame by frame and move slightly the smoke so it moves with the camera. The screen shots from Blender are from altering the resolution/ the amount of particles it will render at and what frame dimensions I changed it to to fit in my project.

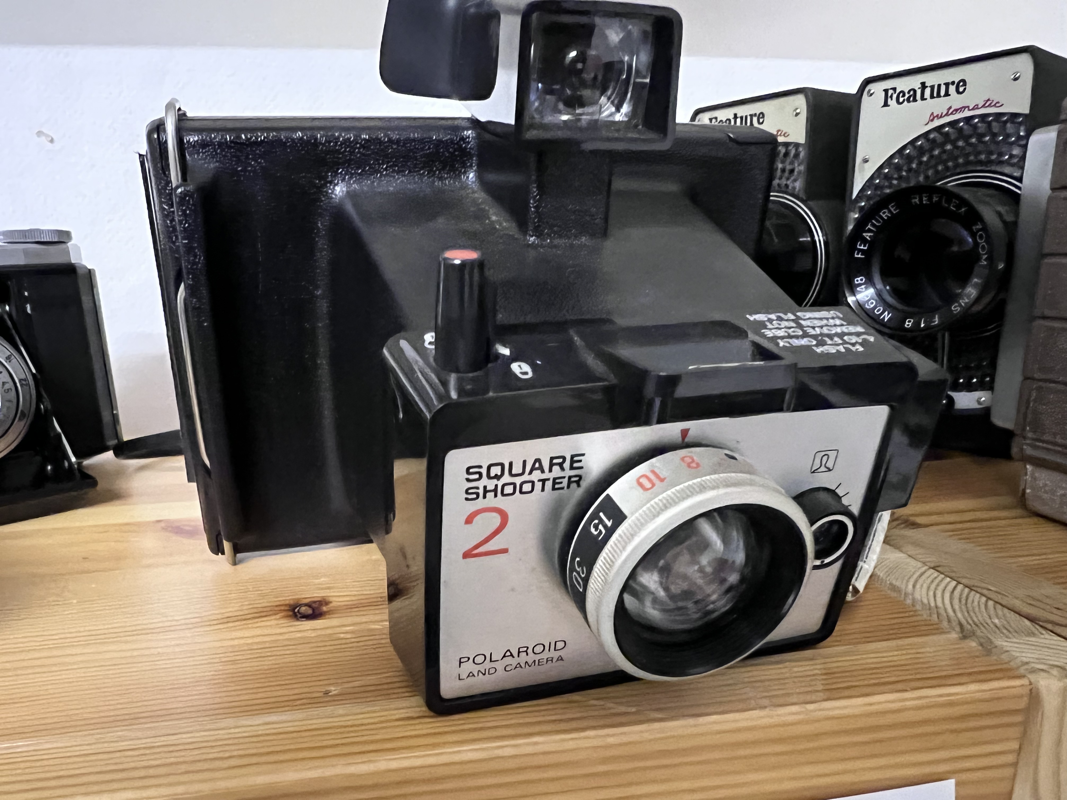
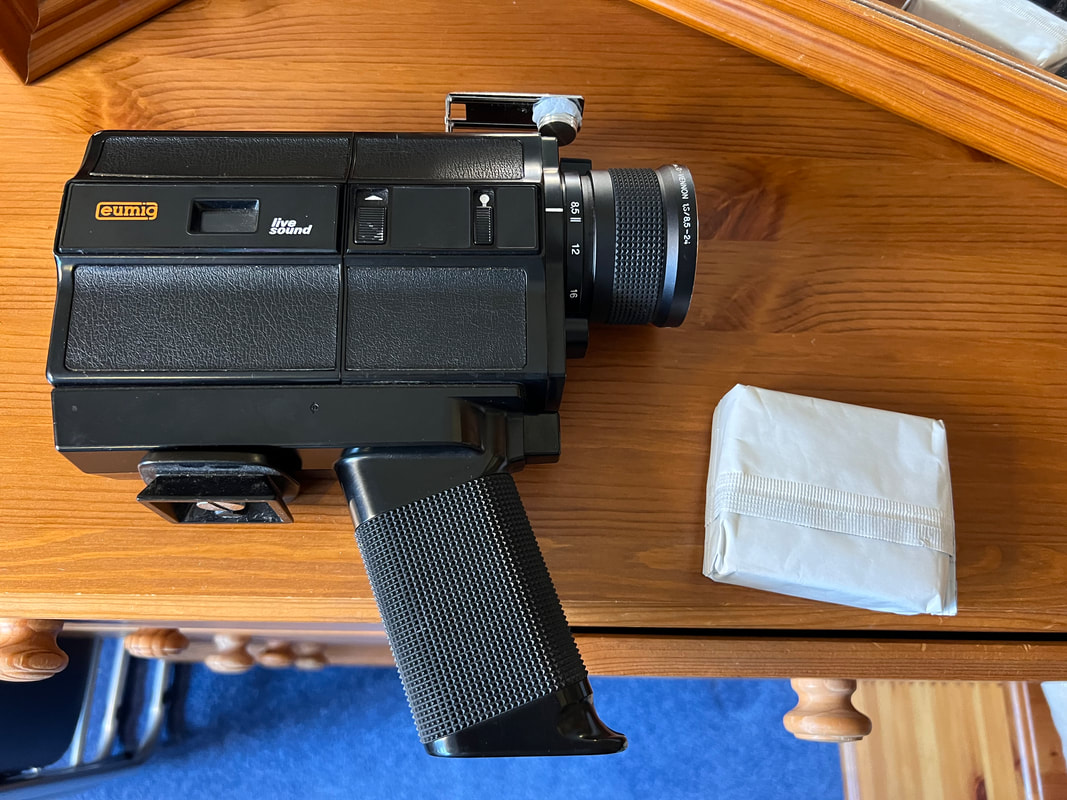
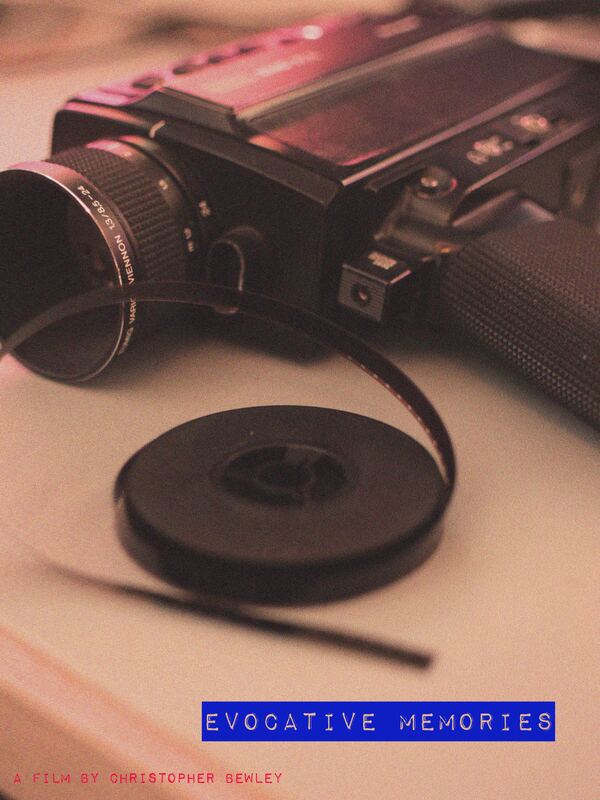
For creating my posters, I used photoshop to edit and colour correct them, I took two images of my super 8 camera one of a closeup looking down the lens and one of a side shot of the camera and a roll of film.
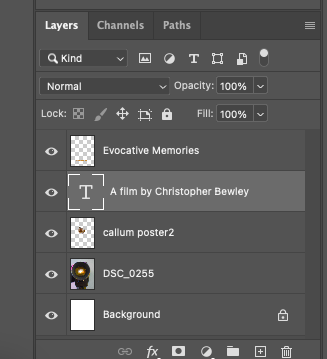


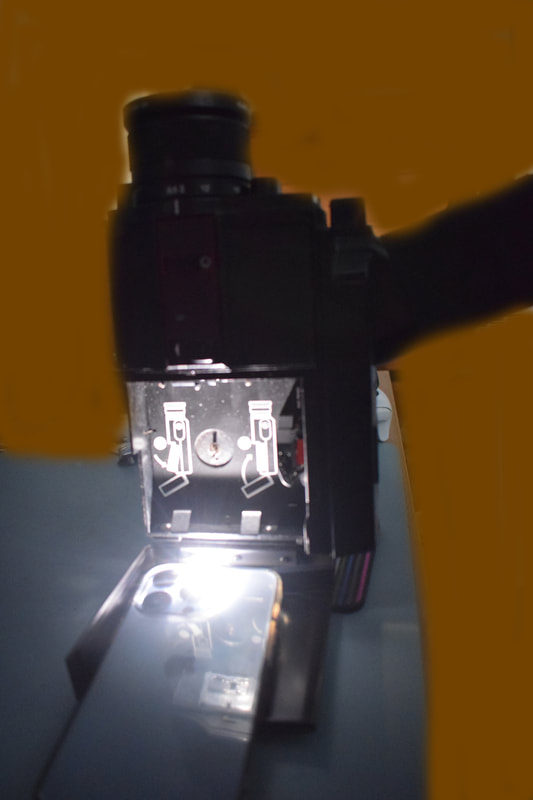
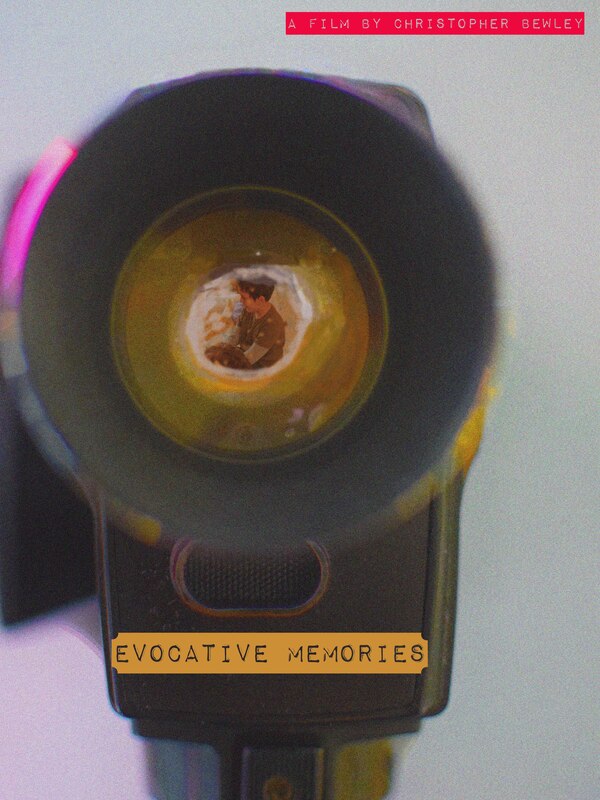
For the one where the poster is looking down on the camera, I used different saturation and vibrance settings to give it the beige vibe of the 1970s, with that I screen grabbed a still from my film and used the magnetic lasso tool to cut out the character and than delete the rest of the background, then I embedded the shot into my main project and blended it into the colours that were present inside the lens using the eye dropper tool. For the title, I used a font that would have been used in the 70s (impact Label) that would have been used on a label maker. I centred the text in the middle of the camera and colour matched the text background. To take the picture I put a phone torch behind the film gauge and pressed the Shutter button so it allowed the light through the other side, and then took a picture so it would look like a projector lamp was behind it, projecting the film. I also used the background remover tool to get rid of any little sections that hadn't been cut out yet, which I altered the brush to fit the angle of where I was cutting out.
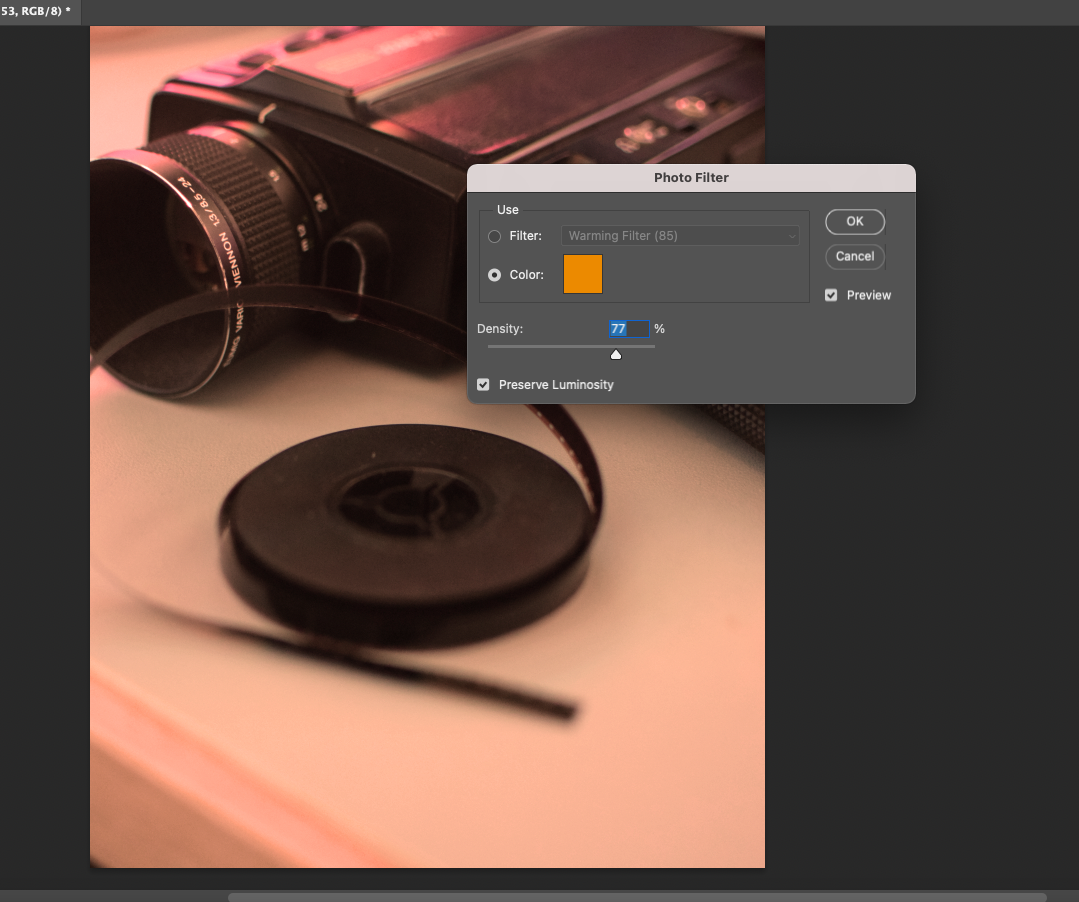
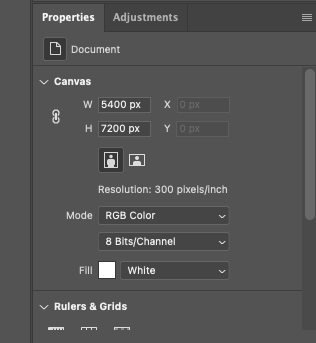
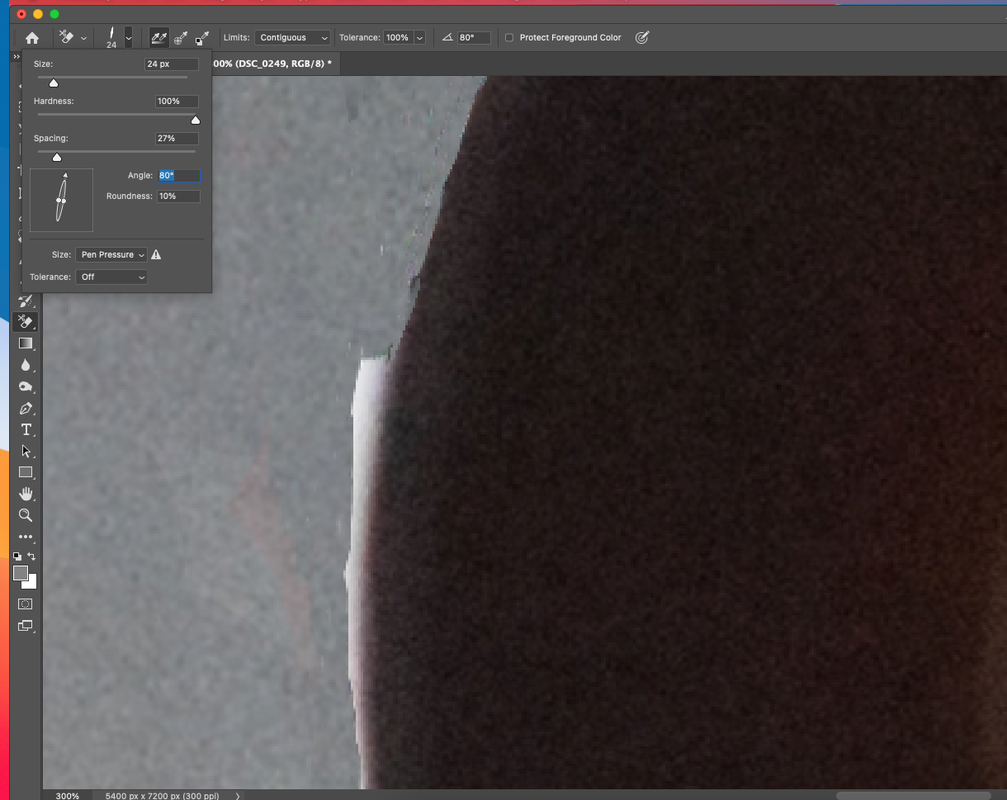
For the other poster I used the same font, but had the camera positioned differently, I had a roll of film in the shot, which I used glue dots to look like the film is on the surface (to make sure it stayed there) and then focused the camera to focus on the camera (further back) and the back strip of the film. I colour corrected this as well, by changing the saturation and using different colour filters. For both files, I set up the document to be the correct poster dimensions and having 300PPI so it can store lots of detail. To add more of an aesthetic, I added a filter which looked like it had a grain effect (Used the Noise filter) which will look like it was taken on an old 35mm film camera (technology relevant in the 70s). I used the 'Impact Label' font because families would have had some kind of label maker to label their film rolls and the coloured background and 3d text would have been the style at the time.
To achieve the higher grading criteria, I have chosen one poster to mainly advertise my product. I chose the poster where I positioned the film roll in front of the camera as it looks more professional, as the other one I didn't quite get the result I wanted around the lens (it looks a bit painted). I did use a light to go through the lens, but after embedding a second shot from the film into it, it doesn't blend well with the surrounding colours (the scene colours in the snapshot from the film do not match up with the colour inside the lens well).
Storyboard for Teaser:
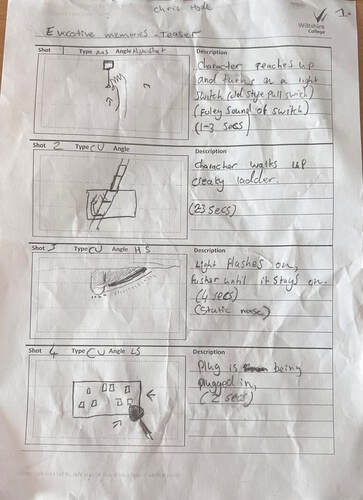
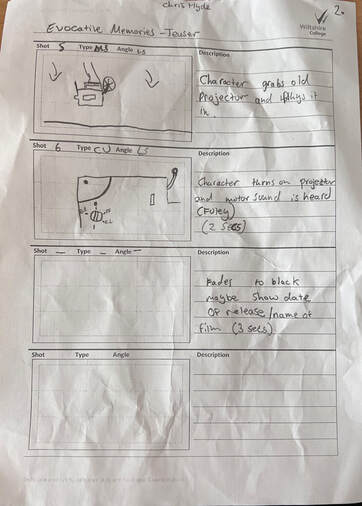
To help build up an audience, I have started to create a short teaser for my production which will last around 8-12 seconds, it will be a short sequence of a unidentifiable person who walks up on old ladder into an attic, turns on the light and when he is up he brings out an old film projector and begins to play a film (the motor sounds are in the background), the last shot is of the light coming from the projector. It will then fade to black, annotating the film name and 'coming soon' below it.
Here are some screen grabs from the teaser project:

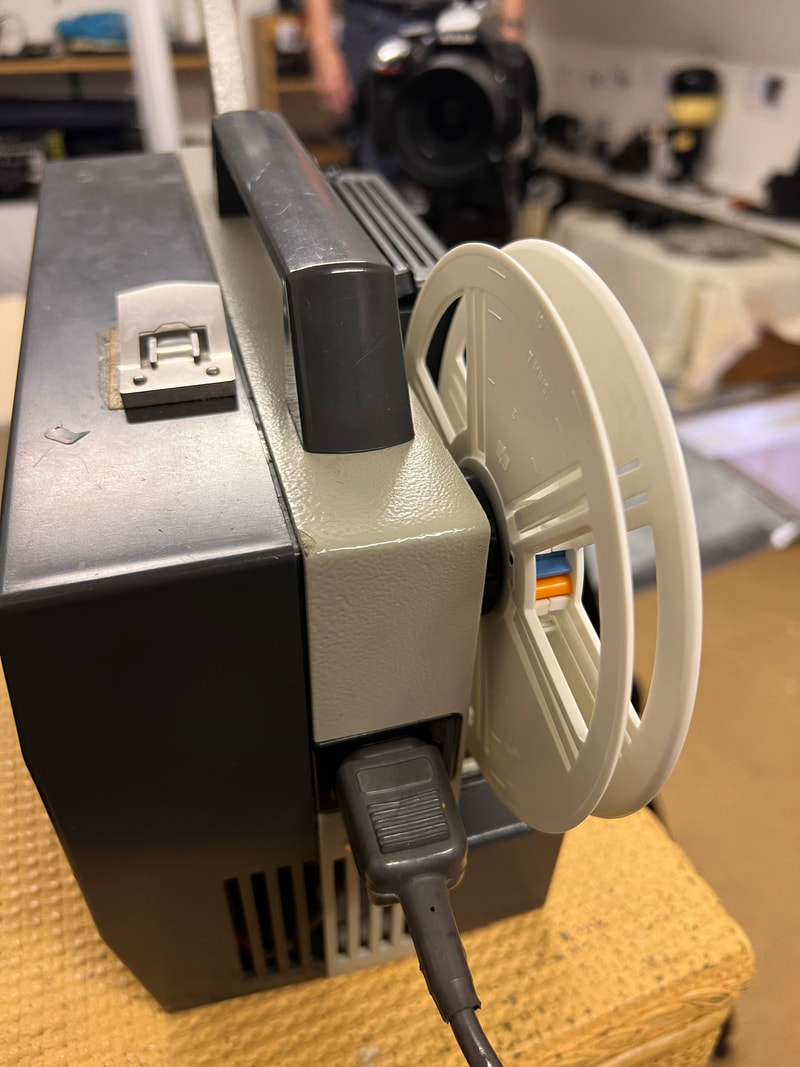
My edit consists of several clips that continue together to show an older person setting up an old project and loading some film on to it, I used Foley to record the light switch separately to get a crisper sound of just the switch and no static or background noise.
After some feedback from Nicky, I resized most of the clips to make it seem more snappy which isn't as visually boring to watch. Some of the clips I sped up and kept the audio pitch the same and some I cut down to only the essential part. Also she suggested I could get a shot of the character rummaging through an old shoe box of home movies/reels of film and maybe a shot of the film being laced through the projector, after looking how I could make this work, I shot it with the character in the same costume and input it in Premiere. I had to cut these shots down also to fit the rest of the project and colour-corrected the clips to have the same beige/vintage lighting effect.
After some feedback from Nicky, I resized most of the clips to make it seem more snappy which isn't as visually boring to watch. Some of the clips I sped up and kept the audio pitch the same and some I cut down to only the essential part. Also she suggested I could get a shot of the character rummaging through an old shoe box of home movies/reels of film and maybe a shot of the film being laced through the projector, after looking how I could make this work, I shot it with the character in the same costume and input it in Premiere. I had to cut these shots down also to fit the rest of the project and colour-corrected the clips to have the same beige/vintage lighting effect.

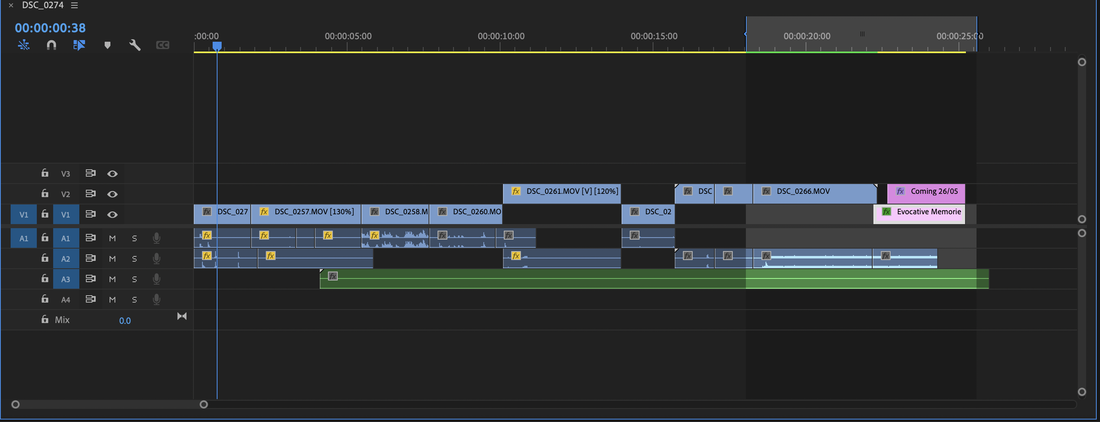
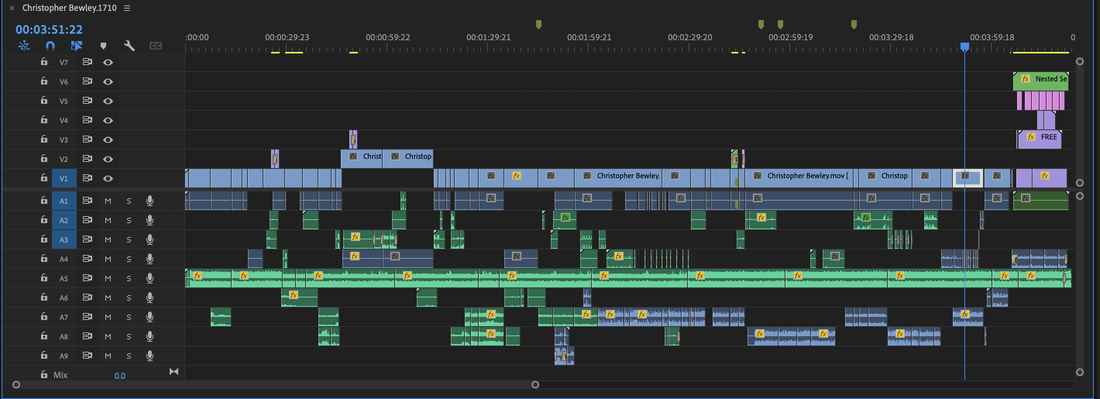
Final project Edit:
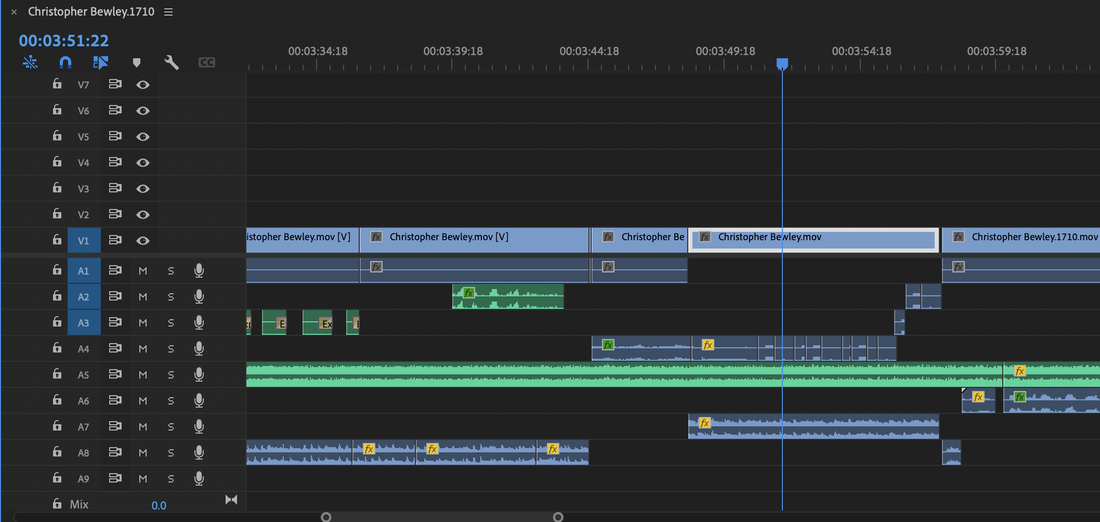
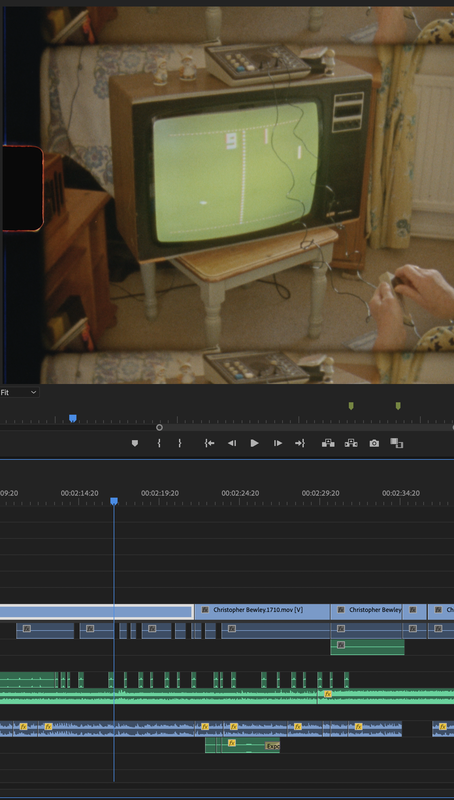
My entire timeline:
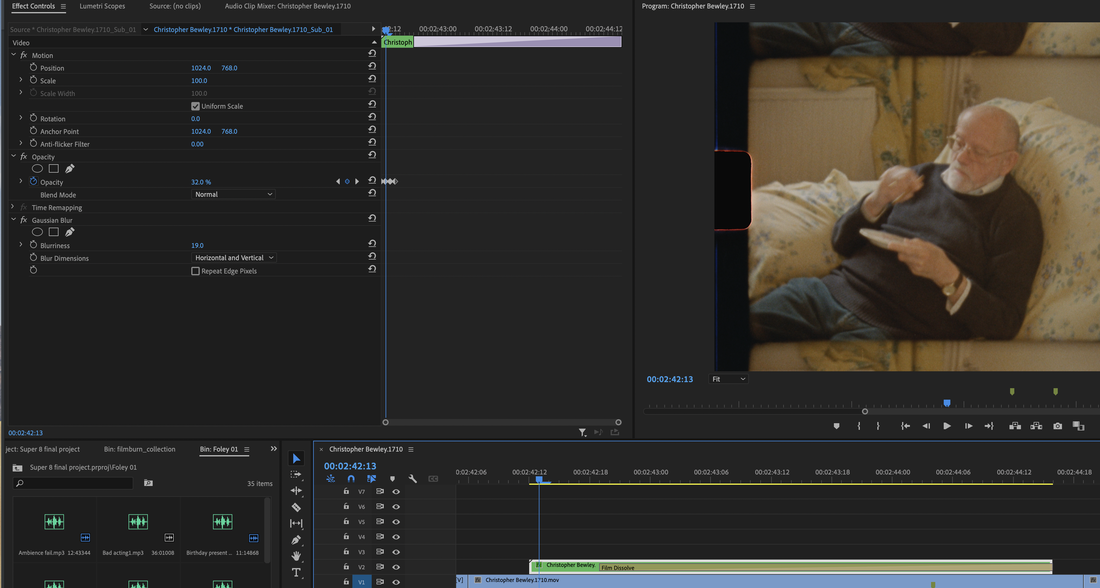
At the moment where the main character is opening his present, I felt the previously recorded foley sound was 'too acted out' meaning my brother was trying almost too hard with a un-natural voice tone, so I went back to a personal video from a Christmas clip which my brother was opening an item related to the pong video game in my project, so I grabbed the audio from the segment where he is reacting to it and put it in my project.
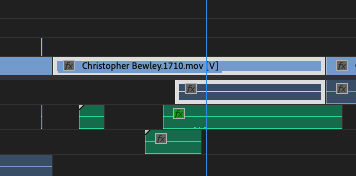
For adding sounds where it depends when the person is pressing buttons or when the character was playing pong, I had to cut up the sounds and move them to where the bat hits the ball (on pong) and when the character is playing Simon (left), when he presses each colour, I have correlated which sound was each colour and matched it up in post. This was done by adding markers while watching it through and then input the clip at that point (Above).

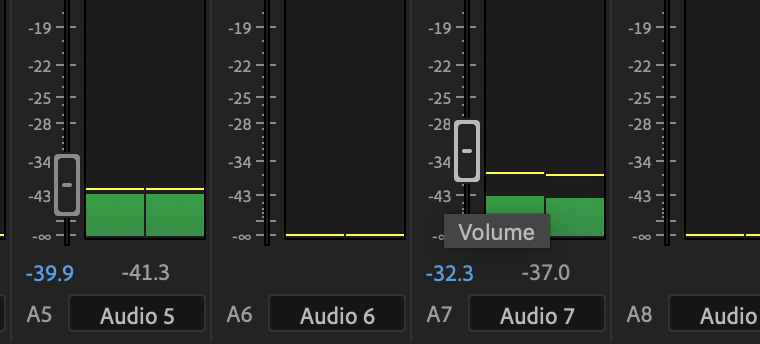
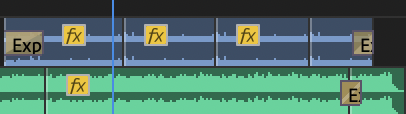
When I added a song that could be heard in the background (it would be coming from the record player in the storyline), I had to cut it up in different points to show that the song wasn't edited in and stops when the camera stops filming, therefore I cut some parts of a song out and then put it together after each clips ends. In some shots where the camera is pointed towards the TV, I changed the audio levels to where it would be closer to the record player and would be louder. This also applied to when someone was talking or a clock chime (foley) and I cut it when the clip ends (Above).
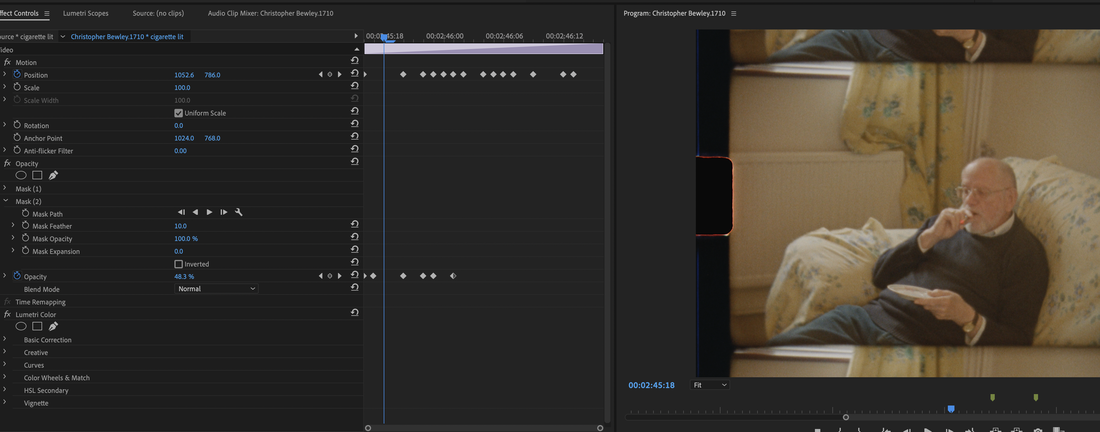
These screen grabs show how I applied James' Blender smoke animation into my project, which I timed the keyframes to move it with the camera's movements as it would look more realistic, which I moved frame by frame and lowered the opacity to look like real smoke as it is not opaque. I also added the edge feather effect to soften the edges of the smoke and as it would have been filmed on film, it wouldn't be sharp so I made it more fuzzy. The shot after is still of the older character smoking, so I added another subtle effect where I used the opacity mask tool and choose a dark red colour and shaped a small circle to show the combustion burning at the end of the cigar, I also tracked the keyframes to keep the mask in the same place on the scene (I moved it slightly frame by frame) (Above).
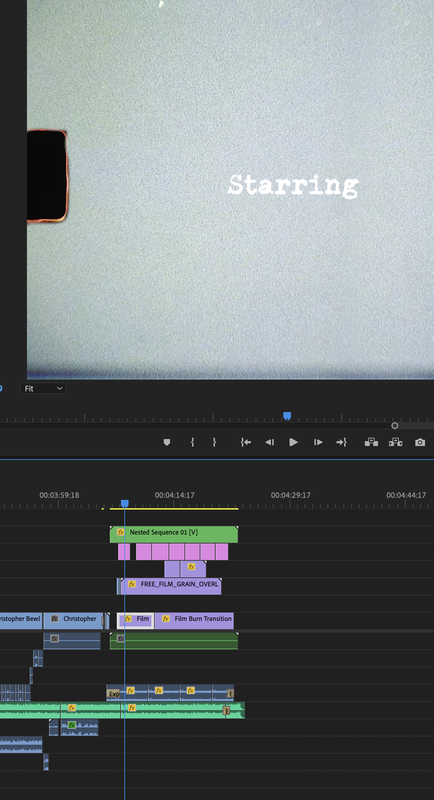
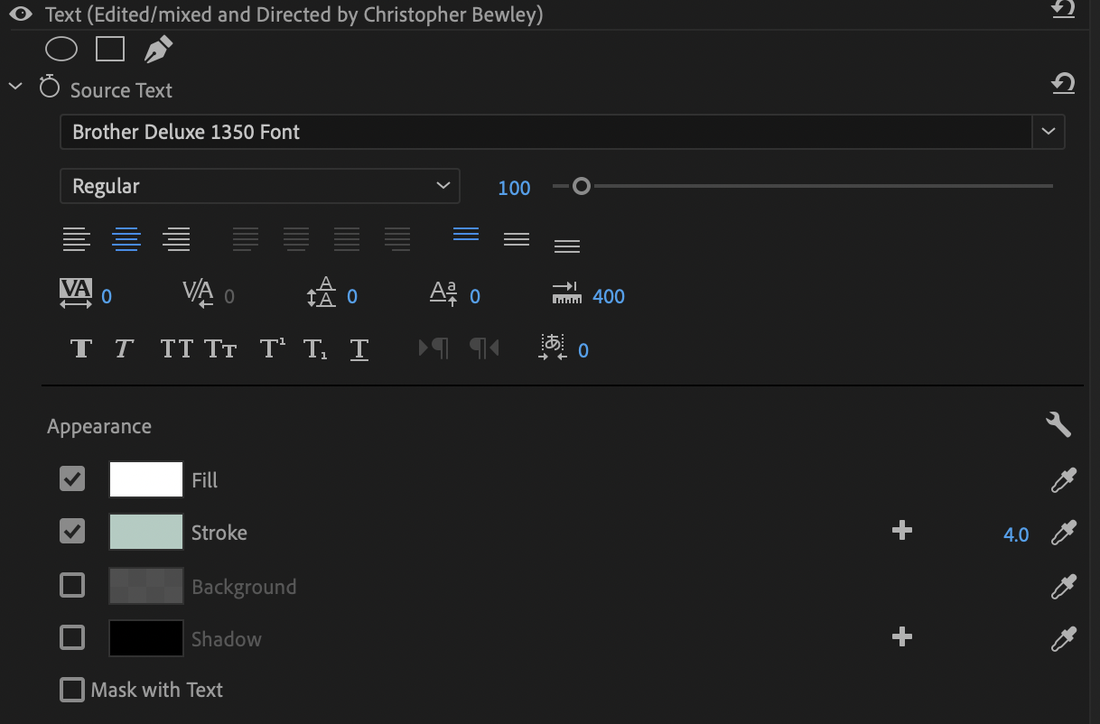
For the ending credits, I used a typewriter font (70s font/Brother Deluxe font) which added to the aesthetic that is was filmed in this time and possibly edited, There are small noticeable spills of ink on the text as well to signify that a type writer sometimes does that and flicks ink onto the paper. For the background I used a standard film leader that was from my original film on my test roll and input it into my project for the end, I also added grain (noise effect) to it to 'rough' the edge film up, like it would of been if you just picked your film up in the 70s. To show that the film was finished I added Foley which was the film flicking round and round once it had completely transferred on the take up reel (it stops when you turn the projector off and rewind it), also at the very end, I added a subtle 'flick switch' which was the projector turning off.
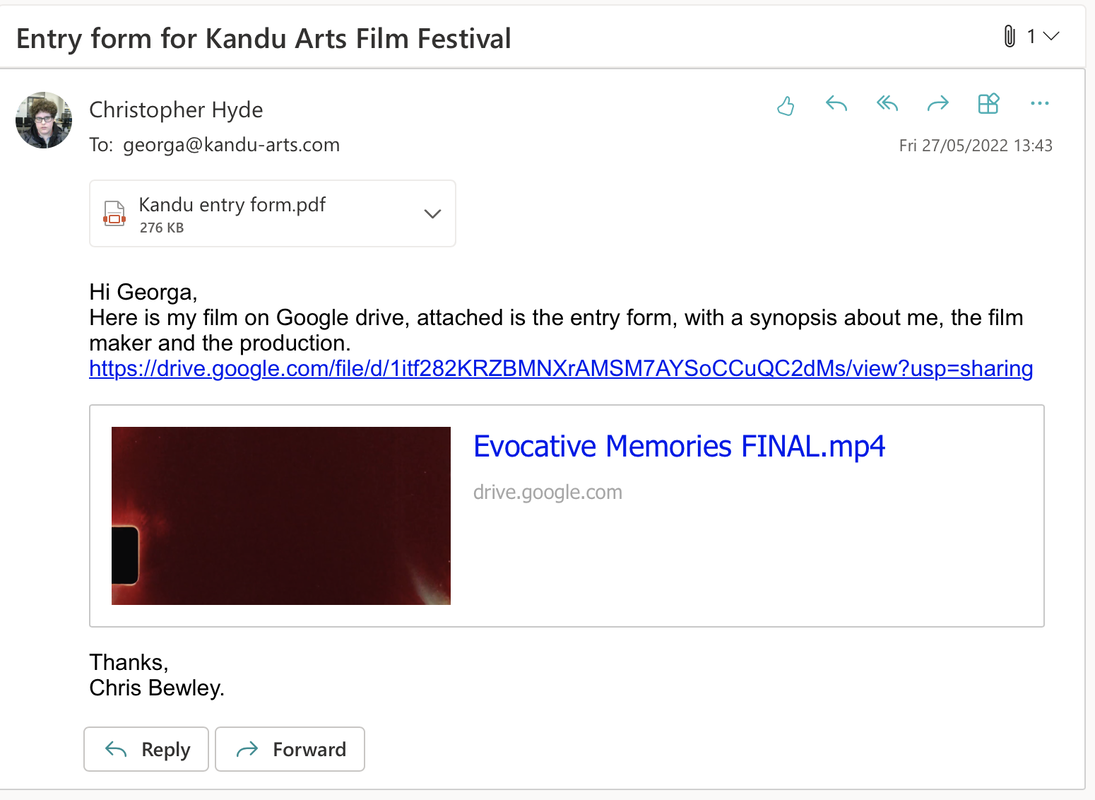
When I finished my production, I planned to enter it into the Kandu Arts Film Festival, I had to fill out an entry form which gave a place for details from me and about the film, e.g. Contact details and film age ratings.
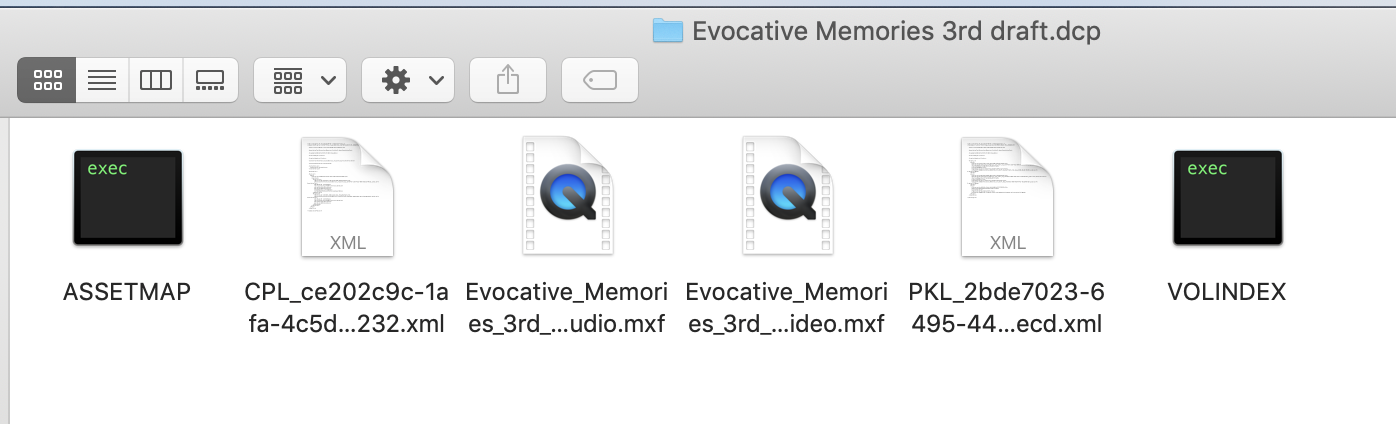
I emailed Georgia about getting in, where I sent an .mp4 file from Google drive over via a link. The original plan was to get all of us to export to Wraptor DCP format as it is a suitable cinema format, which I already exported before we were told to just send mp4s as not everyone was able to export to this format.
The DCP format didn't export in just one file, it created a folder which can hold all the information that the cinema/projector needs.